Fairely Well Maid

Visit my store on Storenvy

Follow Me on Twitter

Wednesday, August 29, 2012

Adventures in Canning - Part 2

Here are the Zucchini and Summer Squash pickles.  First cut them thin, about one pound each.  Then cut a quarter of a pound of onion, quarter it and thin slice.  Set in brine with a quarter cup kosher salt and water to cover.  Let this set for two hours.

Heat up sugar, vinegar, tumeric, celery salt and mustard seed to a boil.  Drain and rinse vegetables then pour hot mixture over them.  Let this set for two more hours.  Put everything into a deep pot and bring to a boil, turn heat down and simmer to five minutes.  Pour hot mixture into sterilized jars.  Put it in the water bath for 15 minutes.

I can't give the measurements out because a friend gave me this recipe and it's her's to publish.  This yielded me three half pint jars, one jelly jar and one cup and a half jar.


That's it for now.  There will be more as the veggies in my little garden ripen. 

Adventures in Canning

As the vending season, at least for me, is winding down, the garden is ripening and it's time to look to the canning stuff.  I have some jars left from last year and I have the jar tongs, but I need a canning pot.  Last year I borrowed my Mom's and she wanted it back.  Off to Ace hardware for a new one and some lids.


A friend sent me some beautiful tomatoes, cucumbers, two summer squashes and a large zucchini.  I'll never be able to eat these myself before they go bad (the Beloved doesn't eat vegetables).  So, time to start the canning.  

Tomatoes, I use these for a bunch of things.  Everything from Indian food to chili.  So, I think I'm doing most of my tomatoes, I also have some in my garden, in their own juices.  This is easy.  A quick blanching to make peeling easier, quartering them up, or in the case of the huge one, eighthing  it up.  A couple of tablespoons of lemon juice in the quart jar and one in the half quart jar.  Tomatoes in the sterilized jars and in the water bath for one hour and 25 minutes.  That's done.


For as long as I can remember growing up, there were always "refrigerator pickles" in the summer.  They tasted very much like half sour pickles.  Here is how they are made.  In a jar, I used two quart jars, pour enough kosher salt to well cover the bottom of the jar.  Throw a small handfull, maybe a teaspoon or two, of mustard seed in and a good amount of garlic, maybe a clove or two well diced.  Fill the jar about half way with water and shake to combine.  Add the cucumbers that you have cut into spears.  Really pack them in there.  Add more water if needed to cover the spears.  Shake and put into fridge.  Shake occasionally, letting them "cure" for about a week or so.  YUMM


That's all there is to it.  Next are zucchini and summer squash pickles. 

Friday, July 6, 2012

Fun with contact paper

I was at the Dollar Tree today and say this beautiful twoile contact paper.  I have a card table from a thrift store that has a huge gouge in the top.  So, two rolls of twoile paper and a few minutes in the hot sun on the driveway and voila

See the big gouge
I did a pretty good job at matching up the pattern.
I also have this camp chair that I got at another thrift store.  The pop-up table is in pretty bad shape, although still usable.  It is bowed down.

Got to admit it looks much better here
So, chair was $5.00, table was $3.00 and the two rolls of contact paper was $2.00.  And I still have some left over.  Not too bad.

Thursday, July 5, 2012

Kitchen chemistry...or dying things with fun stuff

One of the things I try to remember every time I start a dying project is "Be prepared to throw it away".  You can never tell just how it's going to come out, so if you can't bear to part with it, don't try dying it.  These are the very wise words of a dear friend of mine who has gotten me into seeing the potential of all sorts of things.  She has this amazing ability to see something, for instance a wedding dress at a thrift store, and see what else it can be with some dye and deconstructing.

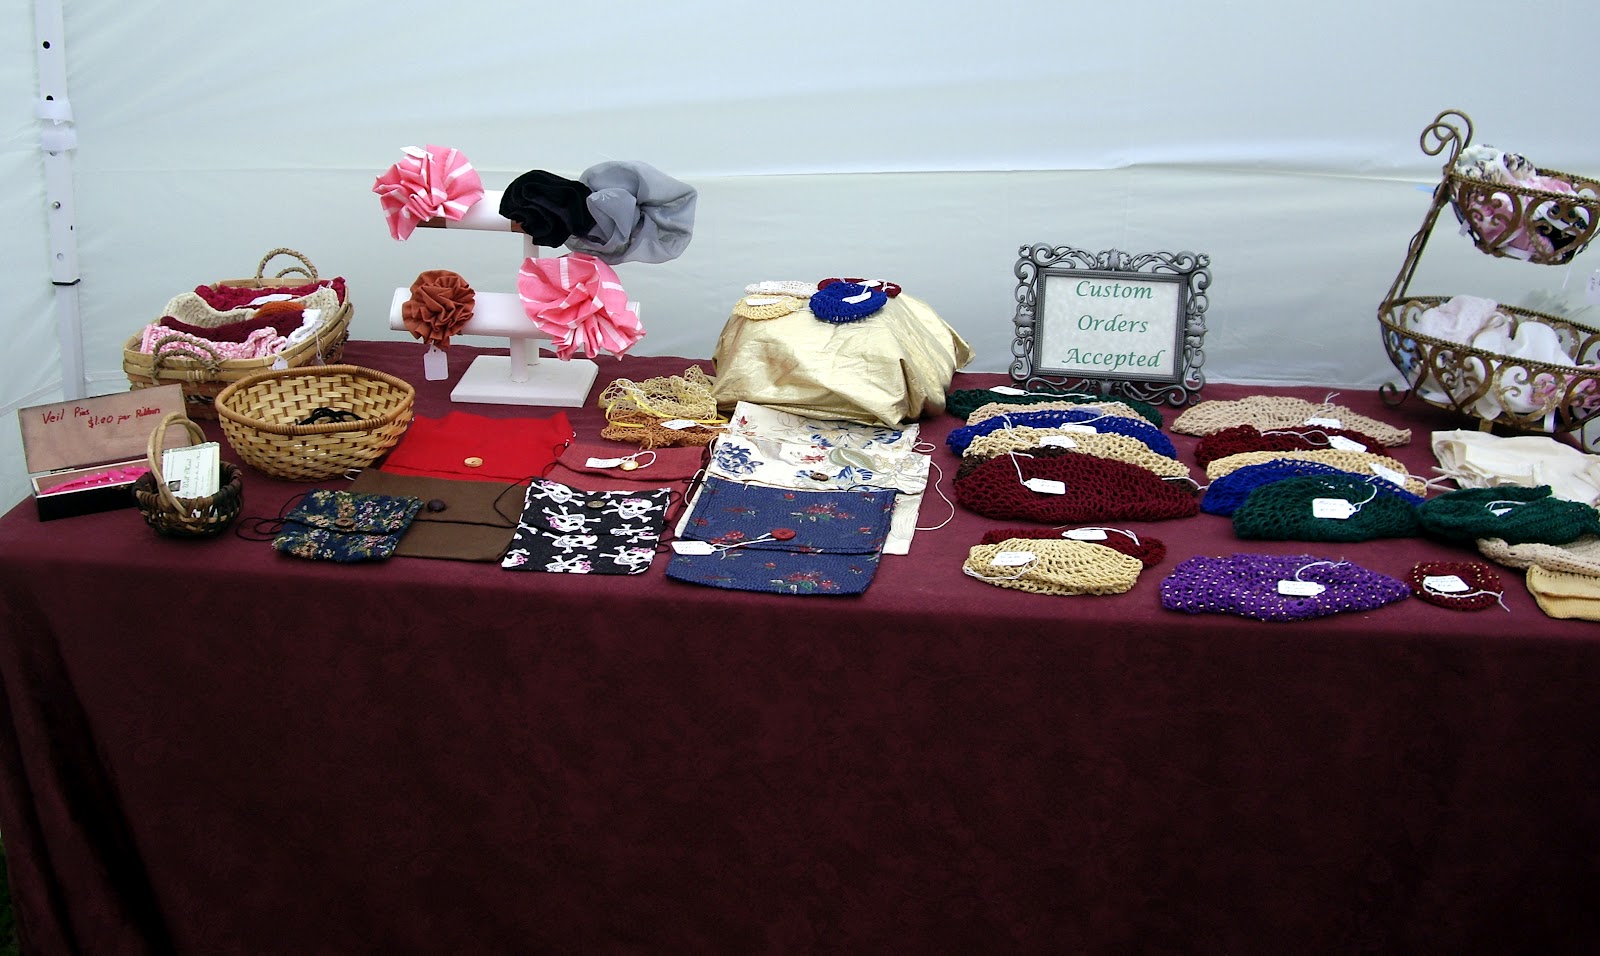
While most of my dye projects are not of that magnitude, it bears remembering.  I have a large collection of white and off white crochet thread that I use to make my snoods, hairnets, belt pouches and shell bags.  I do smaller batches, although I have dyed a large amount of wool.  For that I had to use a plastic bin in my tub as my washing machine is a front loader.

I have used dandelions, celery leaves, red tea, black tea, yellow onion skin, red wine and dried red rose petals.  Dandelions and celery leaves give you an amazing clear, buttery yellow.  Red tea dyes an interesting sepia tone.  Black tea makes it look aged.  Yellow onion skin does an orange (surprising).  The red wine goes an interesting pinkish brown.  I'm told that red onion skins goes green, I want to try that.  I also want to try grass, hey if it stains pants it must be a great dye.  I also want to try fresh rose petals as the dried ones make a light brown.  I also want to try carrots.

Here's where I get most of my ideas for what to try to make a dye bath.  What stains the worst.  Seriously, I tried the red wine because I like the color of the stains on white napkins.  I'm also going to try strawberries (the parts you cut out before eating, I like strawberries way to much to waste the actual berry).  Blueberries may be interesting too.

I did some research online and I use an Alum mordant.  It seems to be the best to use with plant dyes.

The process is easy.  Take a couple of pots, none reactive is best so it doesn't affect the color.  In one put enough water to totally submerge what you are dying.  Then put some alum in, about a tablespoon for a large pot of water.  Bring to a boil then add what you are dying.  Lower the heat and simmer for about five minutes.  Rinse with cool water then squeeze out any excess water.

To make the dye bath, cut up the plant or whatever you are using and put it into another pot with plenty of water.  Bring to a boil then turn down and simmer for about 20 minutes.  If you are using tea brew it in a large bowl for about five to ten minutes.  Strain out all plant material.

Dried rose petal bath
Snoods in a red tea bath
Put the item(s) you are dying in the dye bath and let it sit for at least fifteen minutes and check the color.  I usually let it sit for about an hour.  When the desired color is reached take the item out, rinse and set out to dry.  The color may lighten a bit when drying.

You can save the dye bath in the refrigerator for up to a week.  I will do this if I'm doing several snoods or other items and can't do them all at once.

Here's the whole process done with dandelions.

Snoods in Alum

The dandelion petals in the water
After simmering for twenty minutes
Straining out the petals
The dye bath
Soaking snoods

Wednesday, June 13, 2012

Umbrella Cover

I have this sun umbrella that I have started to use at events.  See, I'm a vampire, I flame up in the sun.  I'm very sun sensitive and really hate sunburns.  Well, it's your typical sun umbrella, large and colorful.  This isn't really a problem, except at Renaissance Faires and SCA events.


Parasols are great, but I use a walker most of the time and this means I need both of my hands.  What I do is rope the umbrella base onto my walker and insert the umbrella.  I wanted to make a cover for it because it is a bit jarring to see the colorful, thoroughly modern umbrella at an SCA event.  I didn't, however, really want to spend a lot of time with it.

I took yellow twin sheet that I got at a thrift store and about five and a half yards of emerald green fringe and made it into a cover.  I cut a hole in the top to fit the top of the umbrella and overstitched around the hole.  I trimmed the sheet to a rough circle by draping it over the umbrella.    I had to fill a bit of it with a piece I trimmed off another place.  I hemmed the circle.


Then came adding the trim.  Four and a half hours of hand sewing  and I realized I'm short trim by about a yard.  Crap.  Well there is a part of the cover without fringe.  If I run into the same fringe again I'll get it and fill in.  It's annoying because I thought I had it measured much better than that.  Here it is:


Not my best work, but not bad.

Monday, June 11, 2012

Roman Garb - part 3

...and a correction on terms.  I goofed.  The over dress is called a Stola, the large cover-up is called the Palla.  I guess Stola just reminded me of stole which is another name for a fur wrap.

So, I finished the second Stola and made the Palla.  I was going to do it in the House Vaganza colors, but I didn't have enough purple wool (did have enough leopard print fake fur) so I went scrounging through my fabric bins and found a great length of orange knit that I'm not planning on using for anything else.

For the Stola today I used the dusty blue cotton lawn.  I made it the same way I made the other ones, except that I only had to sew one side up, as I had 62 inch material.  I just slit down the fold for the arm opening.  I could still make the arm holes larger.  Something to think about for the next one.

Here it is with the white on white gauze tunica.


For the Palla, I just used the length of fabric as is, with the minor hemming of the ends.  It will be warm enough for a summer evening wrap up and can double as a blanket if I need an extra one.

Here is the full regalia


Have to work on my wrapping technique.

So there you have it.  Three days of nice hot weather garb and a wrap if it gets colder.  I also have a big, floppy straw hat because, well, I flame up in the sun.

Tomorrow I'm making the cover for my sun umbrella.

Sunday, June 10, 2012

Hot Weather Garb - Part 2

The second set of Hot Weather Garb is done.  It is an off white cotton lawn Tunica and a lavender cotton gauze Pella.  Here it is complete


Like the Bog Dress you are pretty much sewing two rectangles together.  The Tunica (under tunic) front rectangle is about four inches wider than the back, that is what gives you the drape in the front of the neck.  This one I made with openings along the upper arm.  I machine sewed the seams so I ended up hand sewing the openings.  Measure down enough for your arm openings then seam the two sides together.  Hem the bottom, sew up the neck line and arm openings and you are done.  A Tunica in just under an hour.

The Pella is basically the same.  I just made the neck opening much larger so it vee'd down more.  I also made the arm openings larger, but in the next one I will make them even larger.  The cotton gauze wasn't as wide as the cotton lawn, so it is a bit shorter.  Still not my favorite silhouette but it is extremely comfortable and very light weight.  A whole weekend's worth of clothing like this will pack down to less than an inch high.  I love complete sets of garb that take about an hour and a half from cut to trying on.

I did complete the second Tunica of the white on white check cotton gauze.  I just sewed up the top seam on this one.  I also cheated and used the selvage edge at the sides so I didn't have to stitch the arm openings to neaten them up.  Hemming was quick.  It took me about 45 minutes to sew this one up.

Tomorrow I will make the Pella of dusty blue cotton lawn and post pictures.  I also want to make a Stola (large shawl) out of some left over purple dyed wool and fake leopard print for a Vaganza Stola.  Oh and a sun umbrella cover from a yellow twin sheet with emerald green fringe.  Busy, Busy, Busy.

Wednesday, June 6, 2012

Hot Weather Garb

...or "I will not melt in the heat at GNEW this year"

Last year at GNEW, even though my Bliaunts are cotton/linen blend, I absolutely melted.  It was so hot that I finally ended up in just my chemise on Sunday.  So, and yes Jenn and Kate I can hear you snickering behind your hands, I decided this year that I was making some Hot Weather garb.  I'm making a Bog dress and two sets of Roman Matron garb, tunicas and pellas.  One tunica will be in cotton lawn, an off white, and the other is cotton gauze, white with a white on white box pattern.  One tunica will be a lavender cotton gauze and the other is a dusty blue cotton lawn.  The bog dress is also cotton lawn.  Here are the fabrics.

Bog dress fabric.  Isn't it great :)

This is the lavender gauze with cotton lawn

This is the dusty blue cotton lawn with the cotton gauze
  I started with the bog dress.  The fabric is about 54" wide.  Started with two large rectangles, on for the front and one for the back.  They were long enough for the dress to reach from the shoulder to the floor with an overhang on the top.  I put a rip stop line in the top of the fabric, some fraying is wanted but not more than about 1/2".  I hemmed the bottom, then put the two pieces together.  I measured up the length from my knee to the floor and marked the fabric from the hem up.  I then measured from my knee to my underarm and measured from the first mark to make another mark.  This was the side seam.  I sewed them up and neatened the edges of the un-seamed sides by folding them over and sewed them up. 

Now, traditionally, these dresses would be pinned at the shoulders with broaches.  I cheated and sewed them at the shoulders, about where my bra straps will show.  This way I don't have to worry about remembering broaches and I can "fake it" with pins if I want.

Two hours and 15 minutes from first cut to this.


It's not the most flattering line, but if it keeps me from falling over in the heat then it's worth it.  I can also put a chemise or shirt underneath and it will work if the weather is cooler.

Tomorrow we tackle the tunica.

Thursday, May 24, 2012

Preparations for the Weekend

I'm vending at the Beltaine celebration at A Sacred Place this weekend.  I've been making preparations for the event and for camping.  As the Ez Up is 10' x 10' and I don't quite fill it, I'm setting up my cot in the back and blocking it off with curtains strung across the back on bungee cords.  I've got a 8oz canvas piece of 9' x 12' for a floor.

I've made two dozen little Mojo Bags.  One dozen is made of a material with a Peacock feather pattern and the other dozen is of an iridescent purple with stars and crescent moons.


Meanwhile the animals are helping.  Hector is supervising and Onyx is making sure the cot is safe.

Yes there is a Chihuahua in that pile


Not so sure three weekend events in a row is that smart but, well, you don't know until you have tried. 

In between enjoying your revelries this long weekend take a moment and remember our Service Men and Women who served and who still serve.  Spare a positive thought for them all.

Monday, May 21, 2012

NHRF wrap up and pictures of garb

New Hampshire Renaissance Faire was amazing.  I did very well.  I was thrilled watching all the little girls running around with my Princess hats and playing with my Ribbon Wands.  Here are some pictures of these.


My display table

Items I usually Carry

Fans

Tatted chokers, soap bags, wash cloths and pot holders

My booth


A happy customer and her Daddy who is a really good sport (no, he didn't buy the circlet).

Me on opening day

As promised here are pictures of the Bride in her skirted bodice.

This is the Bride and her handsome Groom


Here is me in my 15th Century Merchant attire, minus the sleeves.  The mini top hat is courtesy of Kate from Antika Nueva.

Not bad for a first try.  No sleeves, but it was way too hot for any additional clothing that day.
So, there you have it.  This coming weekend I'll be at Beltaine at A Sacred Place.  Tomorrow I'll start making small "medicine" bags.  Today I rest.