Fairely Well Maid

Visit my store on Storenvy

Follow Me on Twitter

Showing posts with label kirtle. Show all posts

Wednesday, June 2, 2010

Viking Dress in action


Here I am in the Green Tunic with a plaid and with the Yellow Apron Dress.  They are very comfortable and wear extremely well.

Monday, May 10, 2010

Green Kirtle - Day 5

I'm done.  I sewed the trim on the bottom hem, using it to add a bit of length and even out the hemline a bit.  I really like the way it came out.  It looks much more professional and fits better.

Things I learned:

1)  It pays to measure twice and cut only when certain of the measurements.  The neckline and sleeves came out much better this time because of it.

2)  It helps me to write out my plan ahead of time.  I find a few bugs that way.  Also, if you have a plan that has worked for you before and you need to alter it a bit, it is much easier to do this if you have a written plan.

3)  Pinning is your friend.  It takes a little longer but it really helps if you are uncertain about how a piece goes on.

Next is the Apron dress.  I have a lovely piece of yellow broadcloth (I love the green and yellow combo, this is the third set I will have in these colors) that is going to be a Viking style apron dress.  Stay tuned.

Saturday, May 8, 2010

Green Kirtle - Day 4

Almost done.  I put the gores in and sewed up the sides/under sleeves.

The gores were a bit tricky.  I had to re-cut them because I cut them too long.  I wanted them to hit at the waist and at the original length they hit under the arm.  Once they were re-cut I started pinning.  I pinned one side of the gore to the side, then went up the rest of the side and under the arm.  I then pinned the other side of the gore to the other side of the body.  Getting the top smooth and even was a bit tricky, but I took my time and got it.

Now all that is needed is trimming out the bottom.  As the tunic hits right at the top of my feet I'll just trim the bottom instead of hemming it.

Here are some pictures.  They aren't great, they were taken in my full length mirror.


I'll get a better picture once I've finished.

Friday, May 7, 2010

Green Kirtle - Day 3

Today I trimmed the sleeves, hemming them at the same time, and attached them to the body.  It doesn't sound like much progress but I was doing this while my granola bars were baking.

One of the problems I'm finding is that my work table is so low that my back hurts when I have to pin pieces together.  I need to see if we have a higher table.

Tomorrow I'm going to attach the gores and sew up the side seams.  Then will be trimming and hemming the bottom.  I'm going to pin the trim on at the same time I pin up the hem.  That way I only have to go around the bottom twice (for the top and bottom of the trim) instead of an additional time to hem it up.

Wednesday, May 5, 2010

Green Kirtle - Day 2

Here is the fabric and trim I'm using.  The background of the trim is more beige than white, but I liked the two together.


Today's project is to iron the cut pattern pieces.  Because it's linen (cotton and cotton blends tend to do this too) I like to iron them because the ends tend to turn under.  It makes it impossible to line them up properly when sewing them together (I learned this with the first kirtle).

After this was done, I trimmed the neckline and sewed the shoulder seams together.  By trimming the neckline first I get that nice crisp edge at the shoulders.


I'm also getting better at corners.


Next is trim the wrists of the sleeves then attach the sleeves to the body.  After that I have to put the gores on and sew up the sides and underside of the sleeves.  Lastly hem and trim the hemline.

Tuesday, May 4, 2010

Green Kirtle - A better fitting

I'm revisiting my kirtle pattern.  I'm trying to make a better fit.  I found a great piece of green linen at Birka this year that I'm making into a light weight kirtle with a squared neck and gores at the hip to hem.  As the fabric is 57 inches wide, I'm cutting out two pieces for the body.  I'm taking 1/2 my bust measurement plus a few inches for wiggle room and seam allowances.  I cut a square neckline in the front piece that is 9 inches down and 8 inches across.

I cut two sleeves in a large triangle with the widest part being my upper arm measurement plus 3 inches and the smaller measurement is the circumference of my fist.  The gores are 43 inches long and 15 inches at the widest part and 5 inches very close to the top.  This will give me the room for my hips and the fullness at the hem.

I'm going to trim the wrist, neck and hem with a white/green trim.  This should give me a much better fit than the previous one.

Friday, January 22, 2010

Kirtle Finished

It's Done!


Today I hemmed the sleeves, put the trim on, trimmed the neckline and hemmed the skirt.  I used the trim to close the neckline a little more.  I stitched the bottom of the trim to the cut edge of the neck and ran a double line of stitching around.  This will keep the trim in place and help protect the cut edge of the fabric from fraying.  The trim makes a bit of a stand up neckline.  I'm very happy with the way it came out.

I decided to do some decorative stitching on the hem as I was a bit short of trim.  I used the remaining trim as a period belt.  9th century celtic women didn't have belts with metal fixtures, they were woven.  The trim is wide enough to work.

This is the trim I used.


 The decorative stitching at the hem is using the ruching stitch on my machine.


Lessons I've learned on this:

1.  It is easier to cut off extra fabric than to add fabric once it is cut off.  MEASURE TWICE!  The neckline would have been much easier if I had done this.

2.  Get extra trim!  I never seem to have enough.


To round out the Celtic look I have a 3 yard piece of plaid in cotton that I'm going to wear over one shoulder, under the belt, then spread out on the bottom like a skirt.

Tuesday, January 19, 2010

Kirtle continued

I fixed the line of the skirt today.  I also figured out how to fix the neckline.  Here's what I did.

I pinned where I needed it to fall, front and back.   Then I folded the kirtle on that line and drew a straight line from the pinned area to the fold.  I sewed a straight line between these points.  Turned right side out there is a small seam in the front and back, but the way the gown hangs you really can't notice it.

I'm not completely happy about this but it was either that or having to add material to the neckline and there wasn't any way to do with and still look period.

Trim and hemming left.

Monday, January 18, 2010

Started putting the Kirtle together

With all the pieces cut out and the trim in, it' time to start sewing.

The first step is to sew on the sleeves.  Fold the sleeve in half length wise, then fold the tunic piece in half width wise.  Match up the fold on the sleeve to the fold on the tunic (this is your shoulder).  Pin.  Do the same thing on the other side with the other sleeve.  Open it up and sew the seam.

Fold the tunic in half again and pin the side seams and the seam underneath the sleeves.  Start at the bottom and sew up the side and the underside of the sleeve.

After I did this I tried it on.  I need to soften the line from the waist to the edge of the skirt.  It doesn't fall right.  I used too sharp a curve.  Everything else is good, except the neckline.  I still haven't figured out what I'm doing with that.  It needs to be tightened up.  I'm going to pin it and see what it looks like.  I have beautiful trim so I can cover anything needed.


Here is the material I'm using.  It is a wool blend.


Monday, January 11, 2010

Ok, so I cut out the pieces for my Kirtle and, well, I should follow my own directions.  I cut the neck too big so I'm going to have to figure out some way to fix that.  I'm going to try maybe making a center seam down the front and back.  It really irritates me when I do something like this.

My trim is on it's way, so I can start putting this together.  Oh well, live and learn.

Sunday, January 10, 2010

First sewing project of the new year

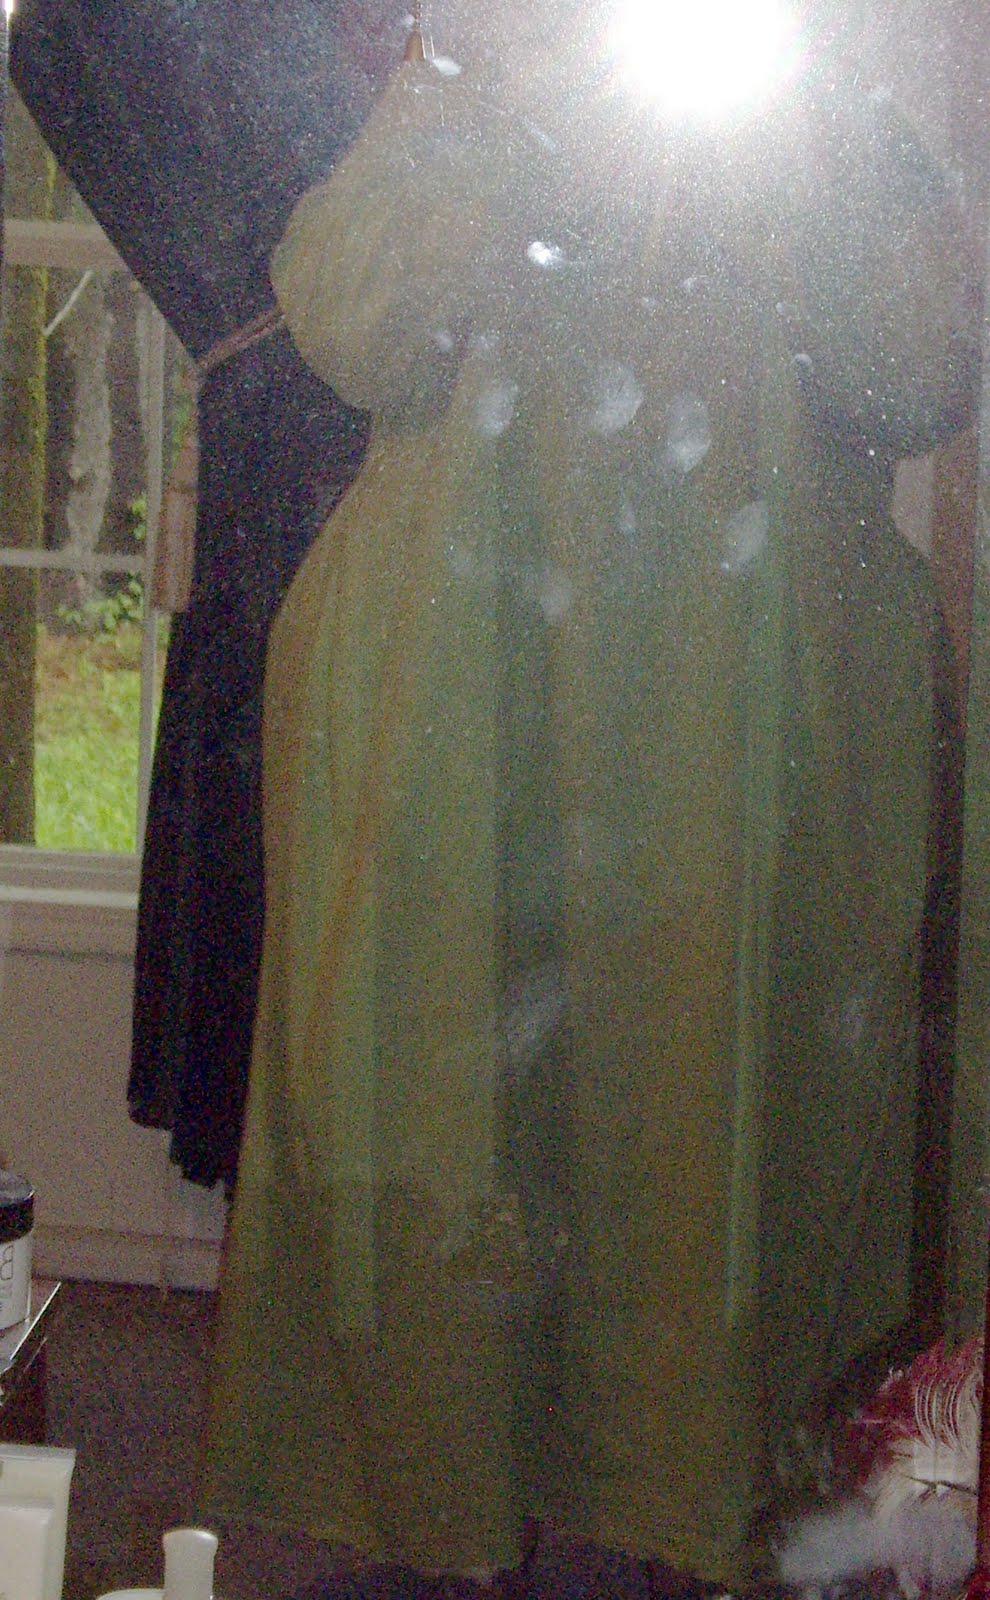
I'm looking for new garb for Birka Market day at the end of January.  I'm going 9th Century Celtic.  This is a very basic garb, but a little more involved than the previous Chemise I've made.  I found 4 yards of a 60" wool blend in a fabulous deep crimson.  I will not use all of it but at $2.00 a yard I bought extra.

The basic garb is an under tunic or Kirtle of crimson that is a bit fitted through the chest, with an oval or keyhole shaped neckline and sleeves that are fitted at the wrist.  Traditionally another tunic would be worn underneath this one, made of linen and probably undyed, but I'm not going to bother with that.  If I decide to I have a few natural Chemises that I can use.  Over this a Brat (or tartan) is worn in several different ways.  It is just a length of material either 45" or 60" wide and about 2 to 3 yards long with a frayed end.

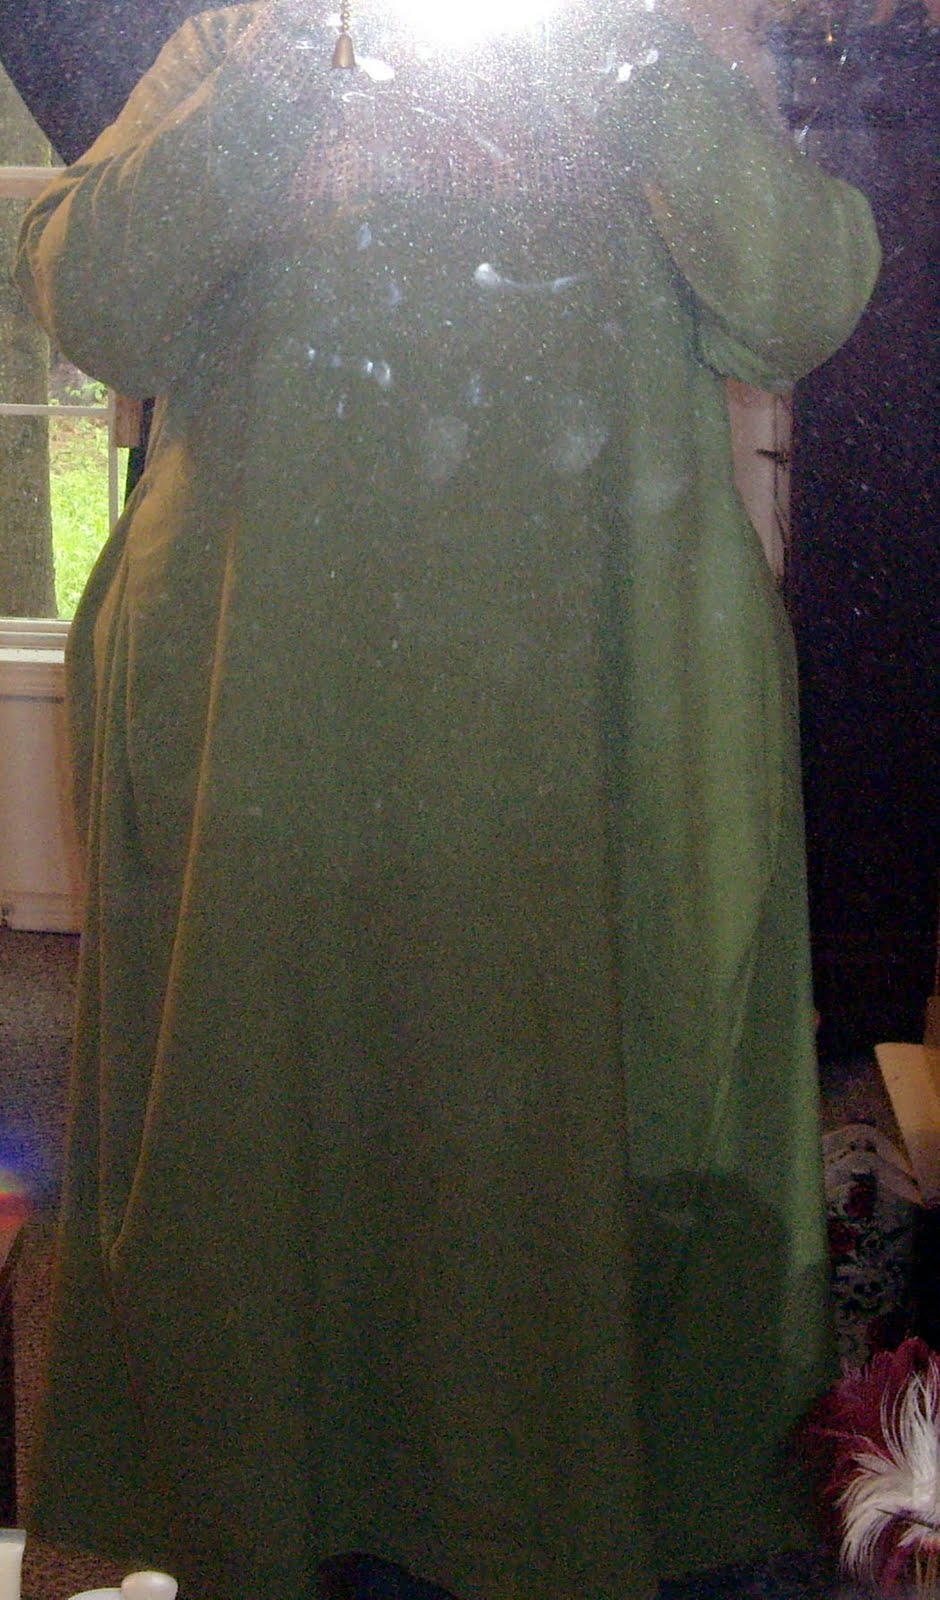
Let's start with the Kirtle.  I'm using a T-Tunic pattern.  With the 60" wide fabric I don't have to worry about adding gussets.  I also want it to be floor lenght.  Here are the measurements I used (I'm not noting the actual measurements because, well, I don't want to).

A. Lenght from shoulder to floor + 1 or 2 inches for hem
B. Lenght of shoulder to waist
C. Shoulder + 4" for seams and wiggle room
D. Chest + 4" for seams and wiggle room
E. Waist + 4" for seams and wiggle room
F. Hip + 4" for seams and wiggle room
G. Upper Arm + 4" for seams and wiggle room
H. Fist + 1" for seams
I.  Lenght of arm + 1" for hem
J.  Head + 2" for hem and wiggle room

1.  Measure a lenght of fabric 2xA long, cut and fold in half lenght wise.
2.  Fold that in half width wise and measure B from top fold.  Mark this at unfolded edges.
3.  If E is larger than D use that instead in this step.  Measure 1/4 D from unfolded edges in and mark.
4.  Cut from mark made in step 2 to mark made in step 3 on a bit of a curve and up to top fold.  Think of the way your body is shaped.  This is the waist to shoulder area.  Be careful if your shoulder measurement is larger than your chest.  You will need another mark and adjust.
5. Decide here if you are using a keyhole or oval neckline.  At the top where the folds meet cut an oval shape 1/4 J.

If you unfold this you will have a long rectangleish piece of fabric with a hole in the middle.