Fairely Well Maid

Visit my store on Storenvy

Follow Me on Twitter

Monday, December 19, 2011

Christmas Presents Post #3

I also rehabbed a couple of wooden Jewelry Boxes for my nieces in South Carolina.


More Christmas Present Posts

This is the new WaistCoat/Vest I made for Bernie.  He has been such a huge help to me this past year that I needed to make something tangible to show my Thanks.

Here is the full front

I can't believe how well a trim I had in my stash worked with this color.

Oh, and I mastered flat felled seams.

Tuesday, December 6, 2011

...And Christmas presents continue

Or "How to rehab a $.99 Thrift Store Bear using some scrap yarn and a bit of Imagination"

Before
After

Sunday, November 20, 2011

Cat Scratcher

Yes, I know, last you heard I was working on an Elizabethan Corset.  It is all finished except for the fitting.  Well, I had a minor adjustment to make, then I had a medical procedure, then my Mom had a health issue (she is better) and then well...life happens.  Now it is Christmas crunch time so it will have to wait until all the presents are finished.

In the process I got a new cat.  His name is Onyx and he is not quite four months old.  He was born at the end of July.


Isn't he cute
We were up at the PetCo pet care clinic today getting his shots and first checkup.  Afterward we went shopping for a treat.  I was looking at the Scratchers and, honestly, not one of them was worth the money they were charging for them.  They were either too flimsy or too big.  So...

I decided that with an old bit of 2x4, some hemp rope and a hot glue gun I would make my own. 

Here's the beginning
Three hours later and a couple of singed fingertips (I can never use the hot glue gun without singeing myself) I have this.  Not bad, but missing something.

Into my store of Rennie feathers I go.  Some wire and a few jingle bells later and it's finished.

Onyx isn't sure what to do with it yet, but I rubbed some fresh catnip on it and I figure he will get the picture.  It can also hang from a door knob if we want it to.


Once the Christmas presents are done, I promise to get back to the corset.

Sunday, October 2, 2011

Adventures in Canning

One of my best friends has three lovely apple trees in her yard and she is having a bumper crop this year.  So everyone is getting apples.  I decided to try my hand at canning.  I haven't done this since helping my Mom, very many years ago.  So, I started with something simple:  Apple Sauce.  I have made this before, only not canned it.  I started with six pounds of apples, peeled, cored and sliced then into a lemon juice and water bath.  Here are the apples.  They are small and taste like a macintosh, maybe a bit tarter.

I don't remove all the peel.  I don't mind a bit in my apple sauce
Sitting in a lemon juice and water bath waiting for the rest to be done.

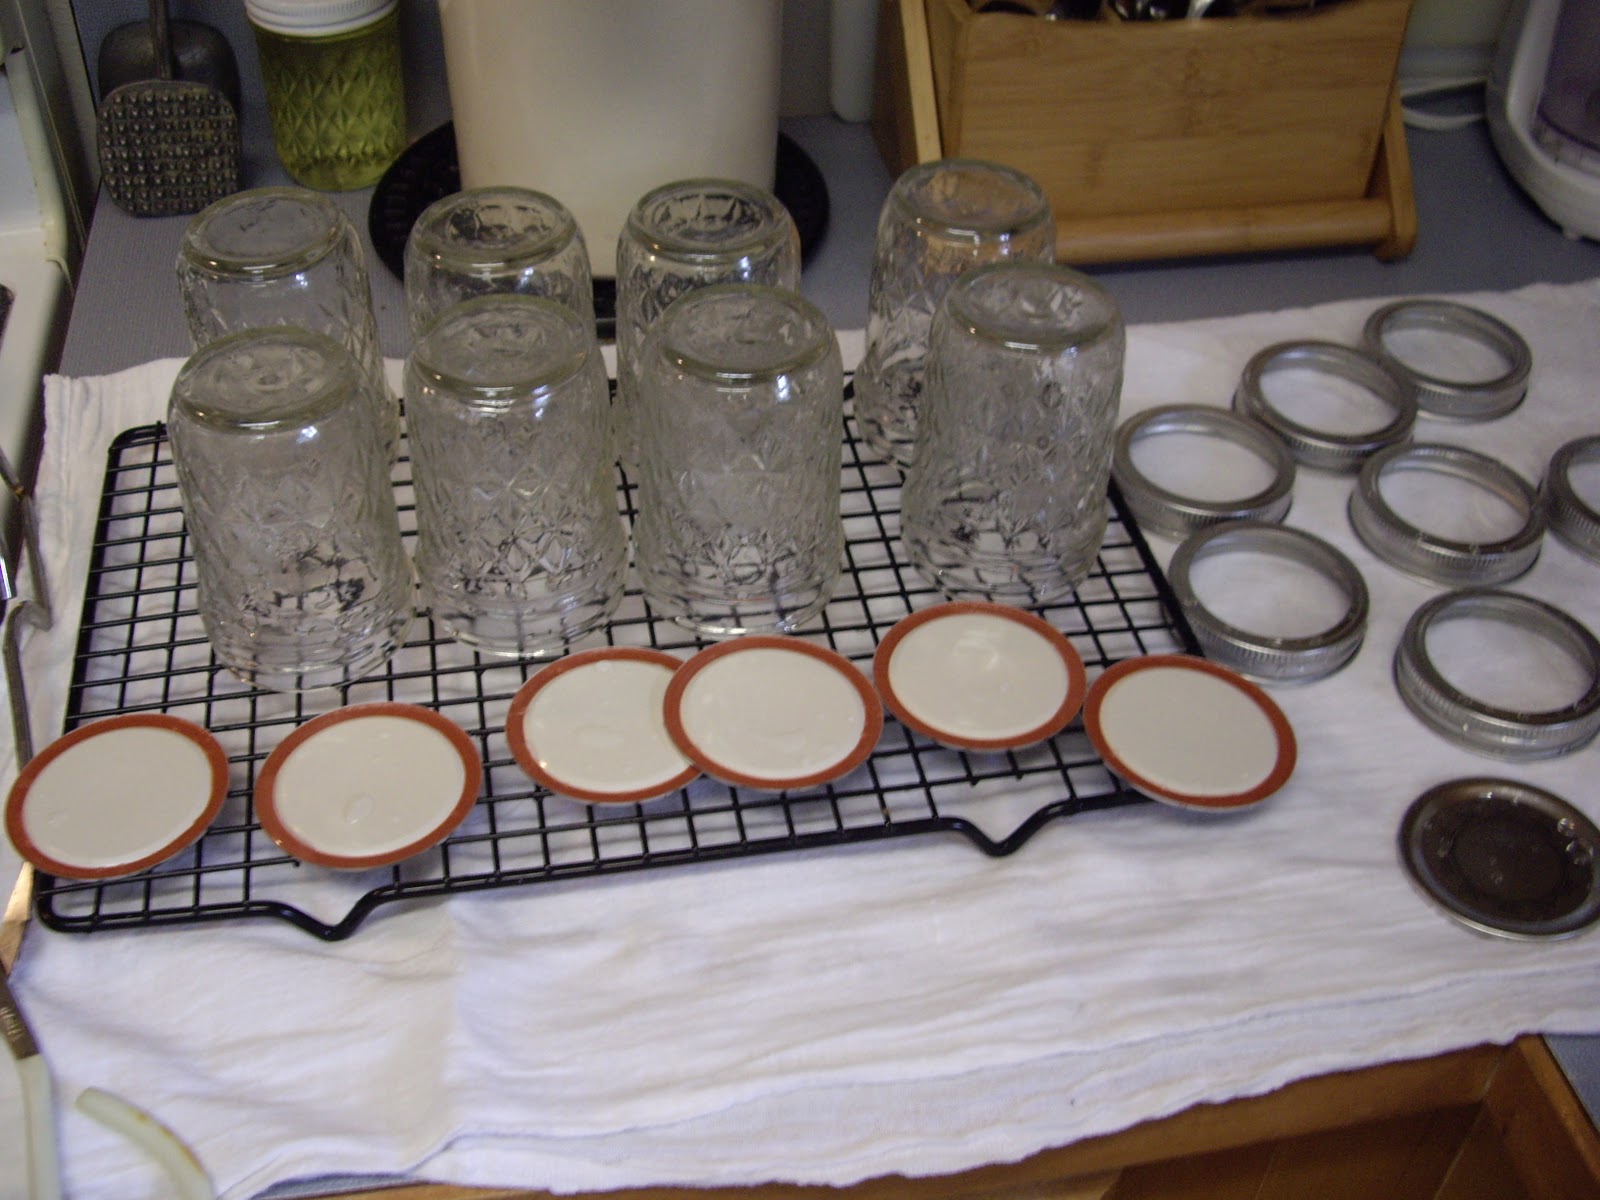
I sterilized eight eight ounce jars along with their lids and rings in the large canning pot I borrowed from my Mom. 

Sterilized and waiting for applely goodness
With a lid on the canning jar so as not to loose too much heat from the water and the burner off, I started cooking down the apples.  The first couple of minutes you have to watch them carefully, so they don't scorch on the bottom of the pot.  I had the burner on a medium high heat.  These apples started to break apart in about 15 minutes.


Out came the potato masher and I broke them up.  I left them a bit chunky because I like it that way.  They were sweet enough and as I use apple sauce for a few different things, like baking, I usually don't sweeten it.  I did spice it with about a tablespoon of cinnamon and a half teaspoon each of nutmeg and clove.  I was able to fill all eight jars, leaving a half inch of space at the top, plus an eight ounce jar and a small container that I popped in the fridge.

Now for the water bath.  I brought the water in the canning jar up to a nice boil and gently, using the jar grippers, put the jars into the water, making sure there was at least two inches of water above the top of the jars.  I let them boil for 15 minutes, then took them out and placed them on a rack to cool.  Within five minutes I heard eight "pops".  They all sealed.


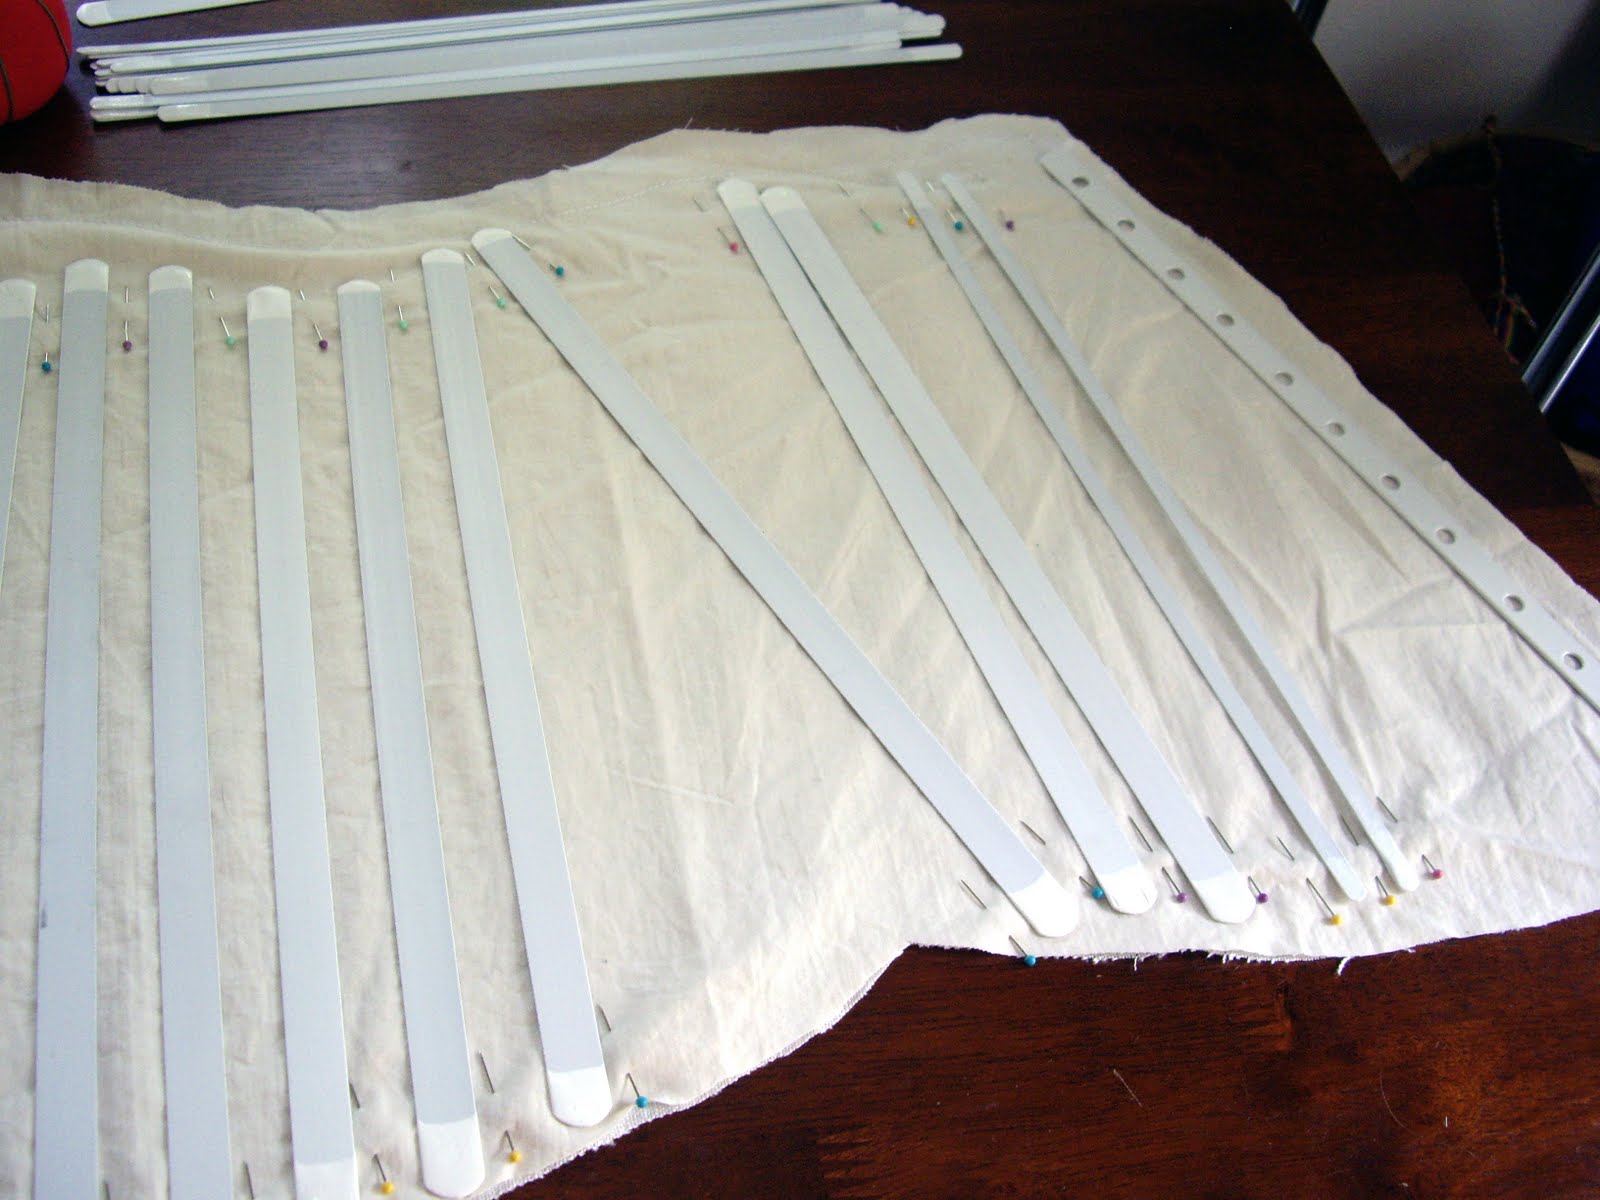
I know it's not sewing, but it is part of the whole getting back to hand made thing.  My sewing will start up again soon.  I have had some issues with my and my families health, plus several commission jobs that has set back my corset project.  I also need to make a new cloak for this coming weekend.

So, I hope you liked my little canning story.  There is more to come.  I'm going to try to make apple pie filling, apple butter and if I can get more apples, apple jam.

Tuesday, August 30, 2011

Elizabethan Corset

So, the bones are in and the (very ugly) fitting strips are basted on.  I made the fitting strips out of scraps of heavy duty cloth and some grommets.  I positioned them about where the grommets will be.  Moment of truth comes as my Husband laces me in...and it is too big!  Oh dear.

This is completely unexpected as the measurements are exactly following the pattern, but this will never hold me in and up.  I have to take it in about 1/2" to 1" on each side.  Better to know this now than when I finish it.

Here is the very ugly fitting strip.

So now I have to take it in and refit it before finishing it.


Monday, August 22, 2011

Elizabethan Corset - Boning Channels

After 2.5 hours of sewing and a persnickety bobbin at the end I finally have 28 channels, plus one channel for the busk sewn in.  First I had to mark them with pins, then traced them with a marker.  Tomorrow I need to put the bones in then sew the bias tape around the edges.

Here they are marked and drawn.
Sewing the channels.

Thursday, August 18, 2011

Elizabethan Corset - Sewing and boning

I got the two pieces basted together at 1/4 inch seam as per the instructions.  I did the bottom waist edge, then the back edge from top to bottom, again as per the instructions.  I then went over to the table and started laying out the busk and the boning as close to the diagram as I could.  Wow, this is a lot of boning.


This is the diagram that they suggest.
This is the center.  The busk is in the middle.
This is the left side.

This is the right side.
It doesn't exactly match the diagram but it is very close.  Tomorrow I have to sew the boning channels.  What I'm going to do first is use a washout marker to mark them.  Right now they are just marked with straight pins.

Onward and Upward (pardon the corset pun).

Monday, August 15, 2011

Elizabethian Corset.

I finished my orange gored skirt so I started the corset.  I took the pattern and laid it over the heavy linen I have.  It was folded and I laid the front of the pattern on the fold.  I traced around the pattern with a purple washout marker.

Here is the back tracing.

The front tracing and the wooden busk.
I cut the fabric then laid it over the soft cotton outer layer and cut that out also.

Heavy Linen

Cotton outer layer.
This was all I had time for.  I need to put these two layers together then mark the boning channels.

Spiced Orange Gored skirt - Done

I'm very pleased with the way this one came out.  It looks great with the crinoline underneath.  The only thing I may do, if I decide to use it as an over skirt would be to put lacings up the opening.  As of right now I just plan on using it as an underskirt the three grommets on each side can stand.

This is the opening I was talking about.  Normally I'll wear this in the back.
This is the front.  I like the A line that the crinoline gives it.
Back view.  Normally this is where I would turn the lacings.
Right side.  I have to admit, this line makes my waist and butt look good :).
On to the Corset (YIKES).

Wednesday, August 10, 2011

Spice Orange Gored skirt - Ready to sew

I washed, shrank and ironed the fabric for my skirt.  I had already made one gored skirt, but I had to redo the measurements because, YAY, I have lost weight and am smaller in the waist.  I'm using a 3:1 ratio so the bottom is 3 times the measurement of the top.  I'm using eight gores.  So, take your waist measure and add 4 then divide by 8.  That is the top measurement of your gore.  Multiply that by 3 for the bottom measurement.  Length is from your waist to the floor, taking into consideration any underpinnings you may be using like a crinoline or a farthingale.  Also remember to add your seam for your waistband and your hem.  Once you have the gores cut, round off the corners on the bottom a bit.  It makes hemming a lot easier.

I'm using a set on waistband.  I'm going to make it about 2 inches wide and just big enough to fit my waist because I'm going to use a lace up closing instead of an elastic waistband.  I think it will be less mess around the waist.  I'm going to have the waistband of the bloomers, crinoline, underskirt, shirt, corset and the over gown so I'm trying to eliminate as much bunching as possible.  For the over gown I'm going to have to take a waist measurement with everything else on so it will fit.  That will probably add about an inch to the waist measurement.  Jeesh, you wonder how these women walked around with all this on all the time.

Pictures coming soon.

Sunday, August 7, 2011

Shirt

All finished.  I cuffed the sleeves and put three rows of stitching on them.  I sewed in button holes and put buttons on.  I then make trim for the neckline from strips of the same fabric and put two rows of stitching on them.  Unfortunately, there was no way to get the trim around the neckline by using the machine, so I had to hand sew it on (yuck).  Here's how it came out.

Here is the whole thing.

Button cuff and stitch detail.

Neck line

Detail of stitching on the neck line.

Saturday, August 6, 2011

Elizabethan Corset - On hold

I know, lesson one of sewing projects, make sure you have everything you need before you begin a project.  Well, I had to order a busk, didn't have anything here I could use, so until it comes in I'm on hold.  This isn't a bad thing because I am addressing a few small projects that I need to do.

Like the shirt I'm almost through with made of a lightweight cotton in a natural color.  I'm making it with close fitting sleeves with some decorative stitching on the cuff and on the neck band that will go around the square neckline.  It will look something like vines.  I'm also making the cuff a button cuff, that way I can learn how to make a button hole on this machine.  It's not like my other one which was one step.  It doesn't look hard, I just need to practice.  I'll post pictures of it when I'm done.

I'm also supposed to hear from the friend about the pants and that will take some time also.  If they aren't in by then I can start on the orange gored skirt.

Wednesday, August 3, 2011

Elizabethan Corset - The pattern

This is what I used to generate my corset pattern.   Corset Pattern Generator

I had to tape two leaves of tissue paper together.  Got out my pencil, straight ruler and measuring tape and followed the directions.  Then turned over the paper and started again because I realized I didn't have the whole illustration printed out.  Hint:  Use the small illustration button so it all prints.

Finally got the pattern.

Back of the pattern.

Front of the pattern.
One of the things that isn't intuitive about this is that it is a back lacing corset.  When you cut it you fold your fabric and the front of the pattern goes on the fold.  I have a very heavy linen for the corset and I'm thinking of a lighter cotton for the outer layer and the boning channels.  I have to order a busk as I don't have one.

Cutting and putting together comes next.

Tuesday, August 2, 2011

Project List - Bloomers/PJ Pants

OK, the bloomers are done and I figure I can double use them as PJ pants so that a two for one.  I'm not going to go into any detail about bloomers.  Simple pair of knee length pants with an elastic waist.  No big deal.  So...drum roll please...time to start the Elizabethan Corset.  I don't have anymore excuses.

Project list:

1.   Finish two pair of pants for Scott.
2.   Perfect the pattern for an Elizabethan Corset.  Yes I know I've been talking about this one for a very long time but, it's time has come.
3.   Make Elizabethan Corset for Jenn..
4.   Make Purple 16th century gown with a non-boned bodice as the corset mentioned above is worn underneath it.  This will have set in sleeves that bell out and are lined in orange (silk if there is enough) and turned back.  It will also have a split skirt attached.
5.   Make Spiced Orange silk stomacher to go with above bodice.
6.   Make Spiced Orange gored underskirt. (Are you noticing the pattern yet)

Monday, August 1, 2011

Project list - Work basket gusset

I split the seam and put a small gusset in the liner.  All better.

Here is the pocket in the front.  I have some small things, like needle threaders, that always end up at the bottom so, a pocket.

Fits rather nice now.

Yeah, I keep some stuff in here.

Here's the back.  The ribbon holds it tight.
Next is a pair of bloomers, then I start the Elizabethan Corset.  The heavy linen is currently being washed and shrunk.

Saturday, July 30, 2011

Project List - Basket liner

This is the basket liner I'm replacing.  It's a perfectly good liner, but it's not what you would call "Period Correct" for either the SCA or a Renaissance Faire.  I'm using bits of muslin left over from another project.  I cut the pieces using this liner as a pattern, with the addition of a pocket on the front piece (I love pockets).  Got everything stitched up and...it didn't fit.  Grrrrr.

Really easy fix for it, all I have to do is slit the back side seam and put a gusset in there.  I just don't understand where I went wrong.  Oh well.  I stitched a thin yellow ribbon on the sides and the back so that it will tie around the handles on the sides and the hinges on the back.  I'll decorate it with the tags I've collected from various SCA and Renaissance events.

So, project list now looks like this:

1.   Finish two pair of pants for Scott.
2.   Perfect the pattern for an Elizabethan Corset.  Yes I know I've been talking about this one for a very long time but, it's time has come.
3.   Make Elizabethan Corset for Jenn..
4.   Make Purple 16th century gown with a non-boned bodice as the corset mentioned above is worn underneath it.  This will have set in sleeves that bell out and are lined in orange (silk if there is enough) and turned back.  It will also have a split skirt attached.
5.   Make Spiced Orange silk stomacher to go with above bodice.
6.   Make Spiced Orange gored underskirt. (Are you noticing the pattern yet)
7.   Make another pair of plain bloomers.
8.   Make a pair of pj pants.

The bloomers are next.  Then comes the Elizabethan Corset.  This is a project that I've been putting off for a while now.  Yes, Jenn, I know.

Friday, July 29, 2011

Project List - Corded Petticoat - Finished

It's done.  I sewed in the channels then sewed up the side seam.  Then came one of the things I don't like doing, I had to fish stuff.  I fished 8 lengths of sisel rope through the channels and two inch wide elastic through the waistband.  I wrapped the end of the rope in duct tape so it wouldn't unravel.

I'm straightening the rope in the hem over the backs of two chairs.

This is the rope I used.
OK, here is the new list.

1.   Finish two pair of pants for Scott.
2.   Perfect the pattern for an Elizabethan Corset.  Yes I know I've been talking about this one for a very long time but, it's time has come.
3.   Make Elizabethan Corset for Jenn..
4.   Make Purple 16th century gown with a non-boned as the corset mentioned above is worn underneath it.
5.   Make Spiced Orange silk stomacher to go with above bodice.
6.   Make Spiced Orange gored underskirt. (Are you noticing the pattern yet)
7.   Make Spiced Orange sleeves, if I have enough material left from skirt.
8.   Make another pair of plain bloomers.
9.   Make a pair of pj pants
10. Make a new liner for my work basket.

I'm probably going to make the liner for my work basket next.