Fairely Well Maid

Visit my store on Storenvy

Follow Me on Twitter

Thursday, May 13, 2010

Viking Apron Dress - Day Two

All done.  This was an easy project.  Basic cylinder of fabric with straps and a bit of trim.  All I did to finish it was sew the trim on the bottom hem and fold over and sew the front of the straps.  I decided to go traditional and not attach the front of the straps to the dress.

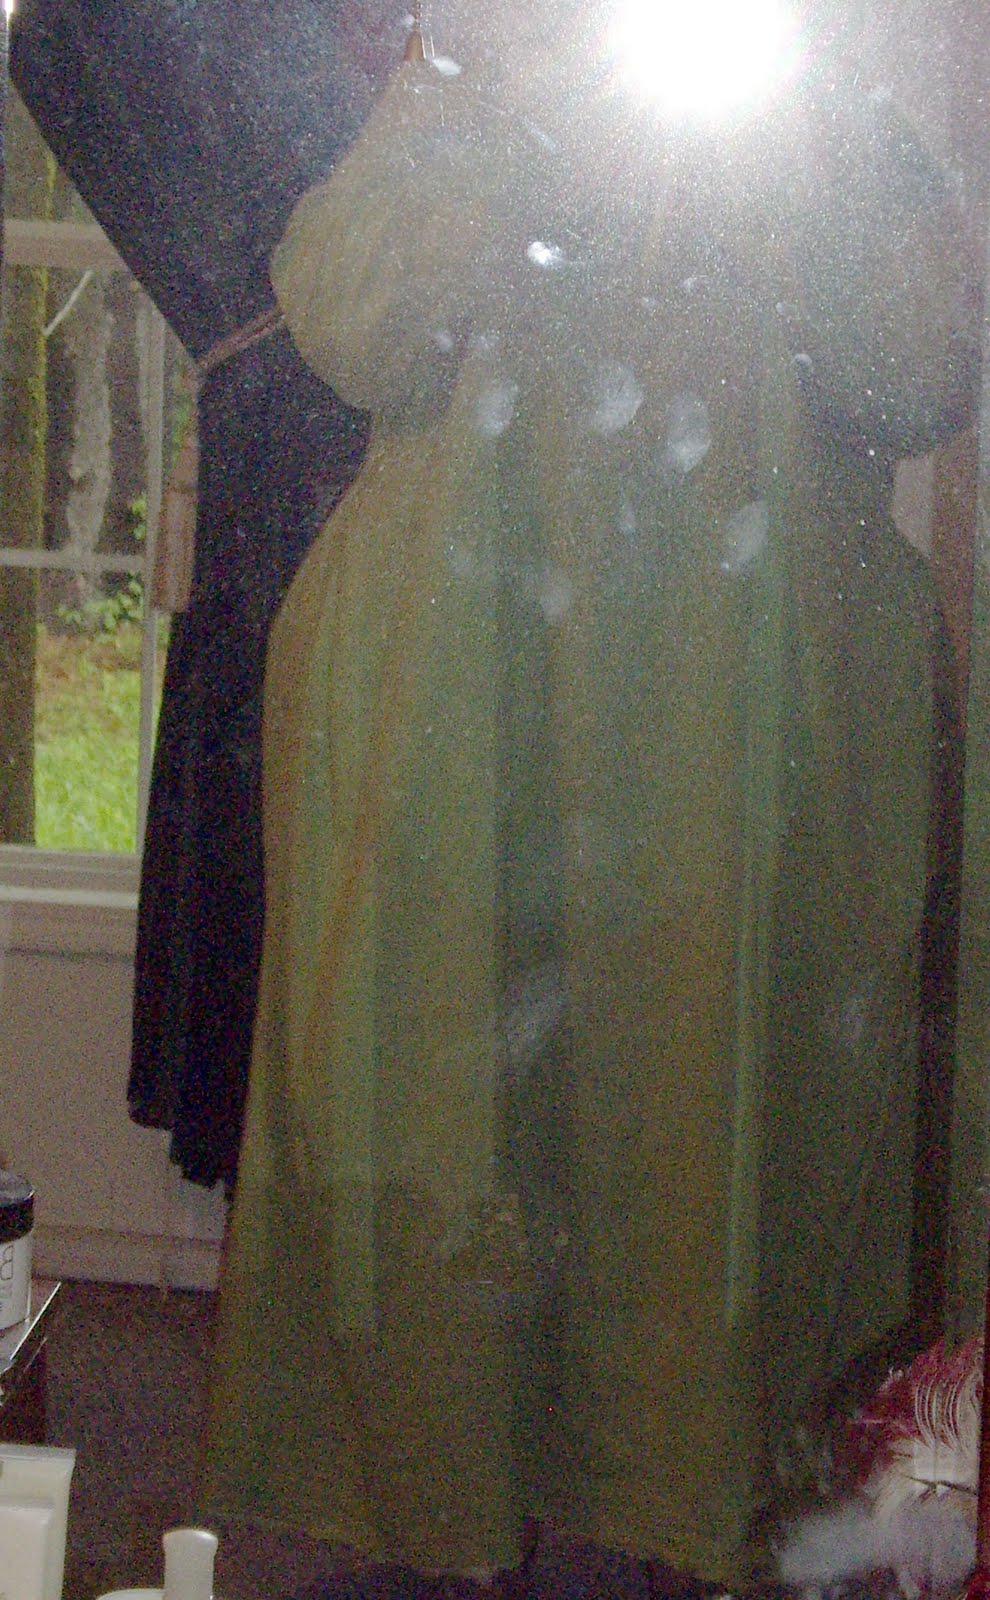
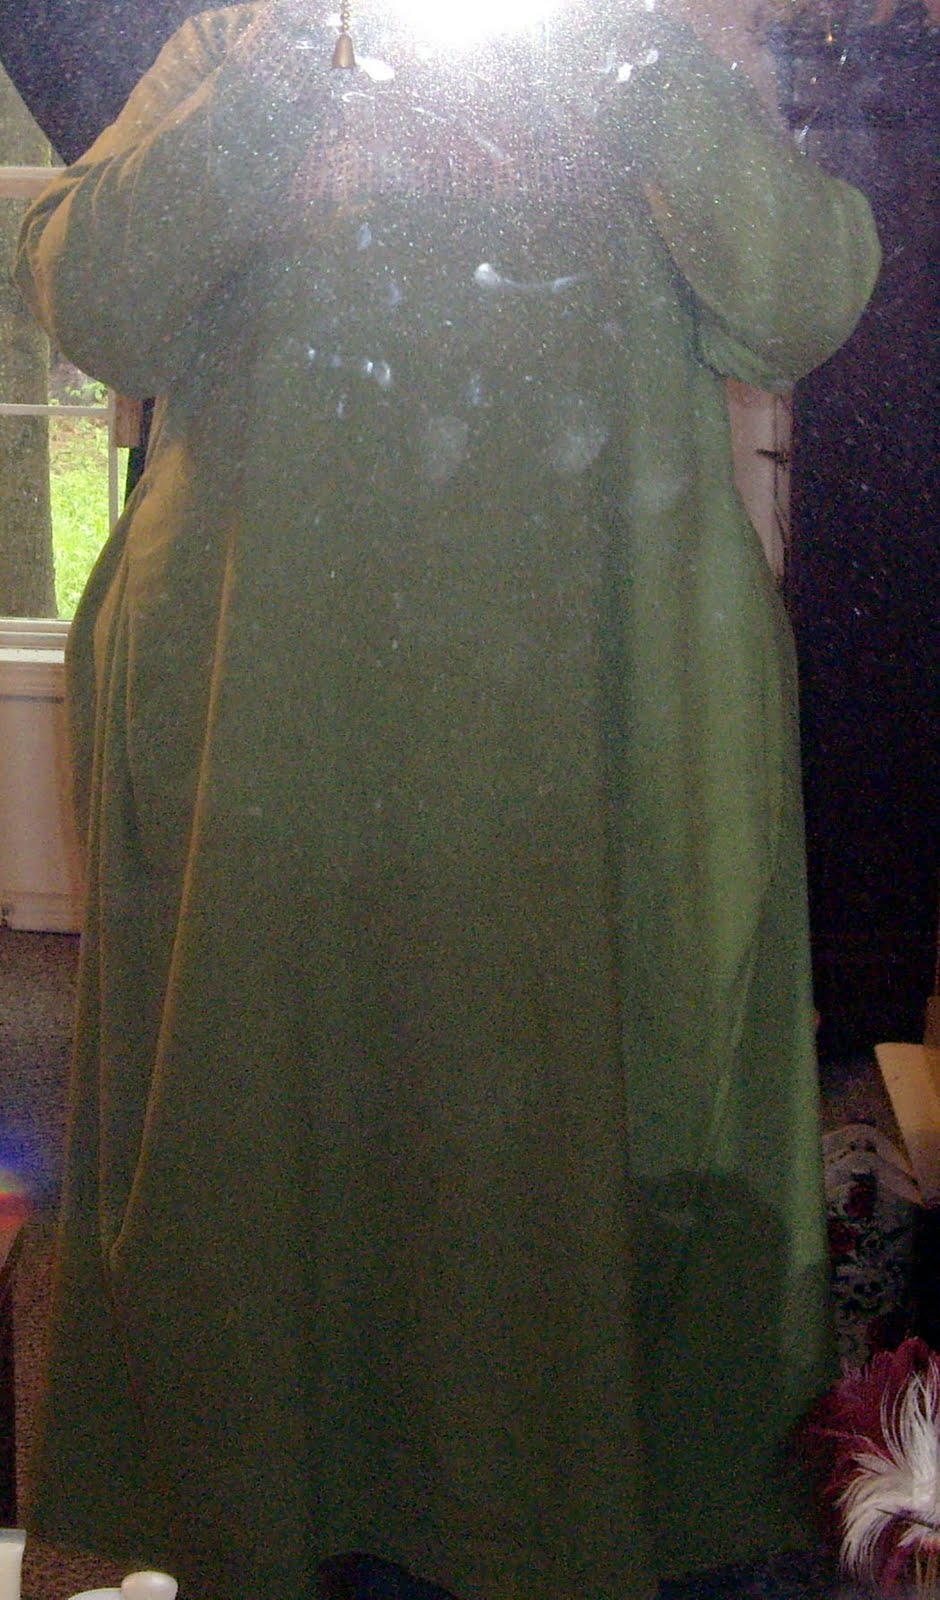
Here is the finished piece with the tunic and "bling".  It will look better worn but you can see the effect.  It will be about knee length once worn.


The only lesson I learned on this one was to angle the top to make a better fit.

Wednesday, May 12, 2010

Viking Apron Dress - Day 1

Yesterday I cut the 2 body pieces and the two strap pieces.

Today I sewed up the side of the straps and turned them right side in.  I pressed the straps flat with the seam in the middle.  I sewed the side seams of the body and tried the dress on.  As I thought, I was going to have to take the top in a bit so it wouldn't gap at the sides.


I pinned the sides and took the dress off.  I sewed up the sides, pinned the top hem, pinning the straps to the back.  I sewed the top hem and straps in place, using two rows of stitches.

Tuesday, May 11, 2010

Viking Apron Dress - The Plan

An Apron Dress is basically a tube of fabric that goes around the body from about the arm pit to a few inches below the knee.  It is held up by two straps that are attached in the back and held closed in the front by brooches.  I'm modifying this a bit by having the straps attached both front and back.

Here is the plan for the Apron Dress.

I'm going to cut two pieces for the body.  The top will measure 1/2 my bust measurement plus a few inches for wiggle room and seam allowances.  The bottom will be this measurement plus 10 inches.  The length will be the the distance from my arm pit to a little below my knee plus a few inches for hemming the top and bottom.

Next I'll cut two strips of fabric 41/2 inches wide and 22 inches long.  The length is the distance from the middle of where the top back of the dress will be to over my shoulder.  I just find that attaching straps in the middle of the back keeps them from slipping off the shoulder.

Sew the two halves of the body together.
Pin the top hem then place the straps where they belong and pin them in place.
Sew the top hem down and the straps in place.  I'm going to use two rows of stitches at the top.
Pin the trim on the bottom and pin up the hem.
Sew the trim in place and hem at the same time.  Again there will be two rows of stitches here, the top of the trim and the bottom which will also act as the hemming.

This is the fabric and trim.  The fabric is a cotton broadcloth so it will have to be ironed before I sew it together.  I'm using the same trim I used on the green kirtle.  One, because I really love this pattern and two, because they will be worn together.

Monday, May 10, 2010

Green Kirtle - Day 5

I'm done.  I sewed the trim on the bottom hem, using it to add a bit of length and even out the hemline a bit.  I really like the way it came out.  It looks much more professional and fits better.

Things I learned:

1)  It pays to measure twice and cut only when certain of the measurements.  The neckline and sleeves came out much better this time because of it.

2)  It helps me to write out my plan ahead of time.  I find a few bugs that way.  Also, if you have a plan that has worked for you before and you need to alter it a bit, it is much easier to do this if you have a written plan.

3)  Pinning is your friend.  It takes a little longer but it really helps if you are uncertain about how a piece goes on.

Next is the Apron dress.  I have a lovely piece of yellow broadcloth (I love the green and yellow combo, this is the third set I will have in these colors) that is going to be a Viking style apron dress.  Stay tuned.

Saturday, May 8, 2010

Green Kirtle - Day 4

Almost done.  I put the gores in and sewed up the sides/under sleeves.

The gores were a bit tricky.  I had to re-cut them because I cut them too long.  I wanted them to hit at the waist and at the original length they hit under the arm.  Once they were re-cut I started pinning.  I pinned one side of the gore to the side, then went up the rest of the side and under the arm.  I then pinned the other side of the gore to the other side of the body.  Getting the top smooth and even was a bit tricky, but I took my time and got it.

Now all that is needed is trimming out the bottom.  As the tunic hits right at the top of my feet I'll just trim the bottom instead of hemming it.

Here are some pictures.  They aren't great, they were taken in my full length mirror.


I'll get a better picture once I've finished.

Friday, May 7, 2010

Green Kirtle - Day 3

Today I trimmed the sleeves, hemming them at the same time, and attached them to the body.  It doesn't sound like much progress but I was doing this while my granola bars were baking.

One of the problems I'm finding is that my work table is so low that my back hurts when I have to pin pieces together.  I need to see if we have a higher table.

Tomorrow I'm going to attach the gores and sew up the side seams.  Then will be trimming and hemming the bottom.  I'm going to pin the trim on at the same time I pin up the hem.  That way I only have to go around the bottom twice (for the top and bottom of the trim) instead of an additional time to hem it up.

Wednesday, May 5, 2010

Green Kirtle - Day 2

Here is the fabric and trim I'm using.  The background of the trim is more beige than white, but I liked the two together.


Today's project is to iron the cut pattern pieces.  Because it's linen (cotton and cotton blends tend to do this too) I like to iron them because the ends tend to turn under.  It makes it impossible to line them up properly when sewing them together (I learned this with the first kirtle).

After this was done, I trimmed the neckline and sewed the shoulder seams together.  By trimming the neckline first I get that nice crisp edge at the shoulders.


I'm also getting better at corners.


Next is trim the wrists of the sleeves then attach the sleeves to the body.  After that I have to put the gores on and sew up the sides and underside of the sleeves.  Lastly hem and trim the hemline.

Tuesday, May 4, 2010

Green Kirtle - A better fitting

I'm revisiting my kirtle pattern.  I'm trying to make a better fit.  I found a great piece of green linen at Birka this year that I'm making into a light weight kirtle with a squared neck and gores at the hip to hem.  As the fabric is 57 inches wide, I'm cutting out two pieces for the body.  I'm taking 1/2 my bust measurement plus a few inches for wiggle room and seam allowances.  I cut a square neckline in the front piece that is 9 inches down and 8 inches across.

I cut two sleeves in a large triangle with the widest part being my upper arm measurement plus 3 inches and the smaller measurement is the circumference of my fist.  The gores are 43 inches long and 15 inches at the widest part and 5 inches very close to the top.  This will give me the room for my hips and the fullness at the hem.

I'm going to trim the wrist, neck and hem with a white/green trim.  This should give me a much better fit than the previous one.