Fairely Well Maid

Visit my store on Storenvy

Follow Me on Twitter

Friday, December 31, 2010

Knitting Lace

Here is the whole thing

Detail of the Holly Berry edge.  I finally figured out edging.

Kind of a blurry picture of the leaf detail.

Wednesday, December 29, 2010

Knitting Lace

I am so excited!  I figured it out.  I figured out trim.  I was thinking about it all wrong.  I wasn't making the connection between knitting in the round (the body of the cowl) and knitting straight (the trim).  Once I made that leap, the rest is easy.

The last stitch on 3 of the rows of the Holly Berry trim use one stitch on the bottom of the cowl.  This is how you attach it to the bottom of the cowl.

I'm very proud of myself on this one.  I have been mulling this one over and over for a few days.  Pictures will follow once it is done.

Tuesday, December 28, 2010

Knitting Lace

I finished my cowl.  The leaf pattern came out really well, but the edging doesn't look anything like it should.  I've had this problem with edging before.  I still like it and will wear it.  I've always been a fan of cowls because you can wear them so many different ways.

So it appears my next project is grabbing some scrap yarn and a pair of needles and practicing edging until I get it right.  This is an important part of lace so I need to be proficient in it.

Edit to add:  I have pulled out the bad edging and am going to fiddle until I have it right.  Robin, I will post pictures as soon as I have the edging right.

Sunday, December 19, 2010

Knitting Lace

This has been an adventure in frustration and internet research.  I have, quite literally, pulled this thing apart 5 times.  First the rounds weren't lining up properly, then the stitch count was off.  So, after vowing that I was not going to be defeated by this #$&* pattern, I went back to square one. 

Here was the first problem.  The pattern grid had these spaces labeled "no stitch".  What the blazes did that mean?  Well, after looking it up on the internet (thank you Gia for knittinghelp.com) I found out that it means just that, No Stitch.  You ignore it, you do nothing, don't even count it.  Problem one solved.

Second problem was that, well, I was reading the pattern grid like you read anything.  Top to bottom and left to right.  Nah uh.  You are supposed to read them from the bottom right hand corner for the first row and then from right to left for the second row and so on.  That explains why the pattern wasn't lining up.

Good, so now I know how to read the pattern and the counts are coming out right.  HA!  I told you it wouldn't defeat me.

This is what it looks like in the magazine
Here is what the first repeat looks like on my needle.  There are 7 repeats of 20 rounds and then a border that is added to the bottom.


Stay tuned to see what happens next.

Thursday, December 16, 2010

Knitting lace

I just subscribed to the magazine Piecework.  What a wonderful magazine.  The first two issues had absolutely wonderful patterns.  The first issue was about crafts in literature, like Miss Marple knitting and the March girls knitting socks and Jane Eyre netting purses.  It had patterns for these types of crafts.  In this issue they have a wonderful writeup about knitting and crocheting lace and a great abbreviated history of silk thread.

I decided, as all my Christmas presents are done (YAY), I would try knitting the Holly Berry Cowl.  It is a very lacy piece done in lace or fingering weight yarn.  I've never knit anything like this before.  It's lacy and delicate and the pattern is done in diagram instead of being written out.  This will be an amazing learning experience.  I'm using a fingering weight soft baby blue yarn and size 8 16" circular needles.  The pattern states size 4 24" needles, but when I made the gauge swatch with size 4 it came out 1/2 of the required size.  I think I may be using a thinner yarn than they used (theirs was a wool lace weight).  This is why I always make a gauge swatch, although I don't save them, I pull them out.

Tuesday, December 14, 2010

Christmas Present Making

 As promised, here are the rest of the pictures of my Christmas Present list.  I'm only missing pictures of 2 hat and mitten sets.


These mittens are a delicious wool with a fabulous soft hand.
Suede yarn and a flower of acrylic stash yarn.
These are made with a soft fuzzy acrylic.

This picture came out too blue.  The picture below is the true color.

I love this edge on the scarf.  This is a wool/acrylic blend.  I made matching mittens.
This color didn't photograph well.  It is much more blue.  They are pop top mittens.

The BR 2 means something to the person I made them for. 

This is a large shawl with a basket weave pattern.  It's made with a bulky weight yarn.

Just a standard 2 x 2 rib scarf in a very bulky yarn.  I learned how to do a long tail and a reverse long tail cast on while doing this one.

Saturday, December 11, 2010

Christmas Present Making

So, I'm on my last gift.  I'm making a pair of mittens for a very dear friend of mine in a yummy raspberry wool.  It has this incredible soft hand.  I love it.

Here are a few of the things I have made.  I will post more pictures as I get this stuff wrapped.  So far the count is 4 purses, 1 scarf, 1 scarf and mitten set, 1 shawl, 1 pair of convertible mittens, 5 pair mitten and hat sets, 1 pair two tone mittens and this last pair will be 15 total.  Yikes...I've been a very busy girl :).

Hat and mitten set and a Messenger bag made out of suede yarn

Purple and white bag of acrylic yarn and pink suede bag

Ruffled hat and mitten set made with worsted weight cotton yarn

Monday, November 22, 2010

Christmas Present Making

I have a total of 14 Christmas gifts to make each year.  This is for various nieces, nephews, great nieces, great nephews, friends, etc.  I usually start in August!

This year I have made a variety of hat and mitten sets (usually for the younger ones), 4 bags for the older girls, scarfs and a shawl.  I can't post pictures yet because some of the friends that I make presents for may look in here.

Late last year I bought 6 skeins of suede yarn on sale at $1.00 a piece.  I didn't know what I would do with it, but I knew I would find something.  This is what I have used to make the bags for the girls.  A little flower embellishment and they came out really cute.

I have the shawl to finish and a scarf to make and I'm all done.  I may have an additional couple of pairs of mittens to make, but I have time.  Oh, I forgot about the 2 Christmas Stockings I have to sew.  Yikes.

So how are your Christmas projects coming?

Wednesday, November 10, 2010

Knitting

So the second sock is done and I'm very happy with the set.  Next time I will make the leg a little longer, about 1.5 to 2 inches and taper the top a bit.  Ah live and learn.

Speaking of learning, most of my Christmas presents are handmade.  It is just too expensive otherwise, I have a huge amount of nieces and nephews.  Plus the few friends I make gifts for seem to appreciate them.  In making a scarf for one of my friends I learned a great cast on technique when making ribbing.  It is the long tail and reverse long tail method.  It actually makes your first row for you.

Thanks to knittinghelp.com and knitdaily.com for the videos and emails that helped me learn them.  I love learning new ways to make things look nice.

Tuesday, November 2, 2010

Knitting Socks - the second sock

I found a much easier way to do short row heels.  Thank you Gia for suggesting the website knitting help.  It was invaluable.  It also gave me a few pointers about how to do the Turkish toes.

As anyone who has ever had to pull out rows, it is always hard to pick the stitches back up again.  When you have to do it for over 12 rounds and the yarn is superfine fingering weight and the needles are size 3...argh.  It is my own fault for not paying attention to my count.

Onward and upward.

Monday, October 11, 2010

Knitting socks - It's a knee sock!

It's finished.  It is the first knee sock that I've had that comes up my leg.  Next time I will make it about 2 inches longer as it doesn't quite reach my knee, but I'm still very happy with it.  I need to get some 16 inch circular needles.


1 x 1 ribbing at the top

Thursday, October 7, 2010

Knitting Socks - The Increase

If I did the math right (knitting math, hmmm) I have the calf increasing to fit my larger calf.  I have been increasing at the back almost every round.  This should, un-stretched, be about 19" (yes, I have huge calves).  This should fit with a little stretching.

This is why I'm trying to learn how to knit socks.  I have very large calves so forget about finding any knee socks that actually fit in the store.

Friday, October 1, 2010

Knitting Socks - Turning the heel

On these socks the heel is done by what is called "Short Row Heel".  I followed the directions I have after several readings and an internet search for help (YouTube has great videos to help you).  Wow, these directions are wicked fussy.  There's YO front and back, increases and decreases, and parts missing from the directions.  Yikes.

I persevered and was able to get the heel turned.  I have to say, though, on the next sock in this pair I will try a technique I found while trying to figure out these instructions.  On YouTube it has this tittle :
"Short Row Heel Demo - Lifestyle Toe Up Socks, No wraps!"
It seems much easier and still makes a heel.

Onward and Upward (literally :))

Wednesday, September 29, 2010

Knitting socks

Not really doing a lot of sewing right now.  I'm in Christmas present mode and while looking for a new hat brim pattern for one of my little ones, I stumbled across a pattern for knitting socks from the toe up using the Turkish or Eastern cast on method.  I was very intrigued so I decided to try.  Wow, I had to try it several times before I got it right, I'm not sure trying to learn it with super fine yarn and size 3 dpn was the smartest thing, but I finally got it.  If you are curious there is a wonderful video on YouTube that explains it better than the directions that came with the pattern.

One of the reasons knitting socks intrigues me is because I have very heavy calves and can NEVER find knee socks that fit.  So now I'm trying to make a pair that will.  I knit a gauge swatch so I know how many stitches are in an inch.  When I get to the part of the pattern where the leg is being formed I'm going to do some math to figure out how many to add.

If you are curious about how far I've gotten, here it is.  This is four inches or so into the foot.  It is a 2 x 2 rib pattern.

I'll keep you posted on how it's coming.

Saturday, September 4, 2010

Slops

Well, their done.  I got inspired and over did it at the sewing machine, so now I'm in pain from my Fibromyalgia, but I finished them.

It went pretty much as planned, except for a very difficult lesson I learned in fitting pants.  I put the pockets on and sewed up the outside seams then I sewed up the inside seam.  I sewed the fake button placard.  While trying to figure out how to put the placard on, I realized that the pants were too long in the front.  That's when I had a revelation. 

I had been cutting the front and back to the same measurements, that is why they never looked quite right.  So I measured the front rise and the back rise and there is a difference of about eight inches.  Yeah, big difference.  This is when it dawns on me that to get a good fit, I need to measure the front and back different then put them together. 

OK, problem is, I've already sewn up the pants.  So, I fudge the waist band so that I have a shorter rise in the front than in the back.  It's not perfect, but it looks better than previous attempts.

Now I can put a crease in the front of the pant and sew the placard in, making sure not to sew together the waist band.  Thread the elastic cord through and hand stitch the placard over that.  A handful of buttons sewn on and hemmed to about three or four inches above the ankle.  Done.

Here is the few lessons I learned, and they are big ones:

     1.  Measure the front and back separate, using the different rises.
     2.  Work on the shaping of the pant.  Because of the size of my butt I have to have a waist that will go over it if I'm using an elastic waist.  If I'm using button or lacing I have to make sure it will go over my butt.

I'll post pics tomorrow.  We have a dress rehearsal tomorrow and I'll have someone take a picture there.

Friday, September 3, 2010

Slops - Cotton Seersucker

I found a length of thin stripped red/ivory seersucker on sale.  It was enough to make a really baggy pair of Slops for my Pirate Persona (I am a black powder re-enactor).  Here is my original plan.

As you can see, I really can't draw for anything.  I had originally planned to use four pieces (two front and two back).  However, the piece of fabric was plenty wide enough for me to use two pieces, one front and one back.  Forgive me, but I also erased the actual measurements because, well, I really don't need my hip and waist measurements out there on the web.

The plan:

     1.  Pin the pocket pieces on and stitch.
     2.  Run up the outer leg seams and sew around the pockets.
     3.  Sew up the fake button placard.
     4.  Pin a fake seam in front and sew down with the placard in place.
     5.  Sew up the inseam.
     6.  Sew the waist band and hem legs.
     7.  The detail work, sew buttons on the placard.

Friday, August 20, 2010

1/2 sleeve summer shirt - Finished

Here it is.  Yes I know, it turned out long sleeve.  I went a little overboard on the ruffles.  I still like it.

I got a really nice compliment on it from the local cashier at Walmart.  She asked where she could get one like it.  I told her I made it and it was my own design.  She told me I was very talented.  (HA fooled her).

Anyway, below is the sleeve detail.  I really like them.


Lessons learned -

1.  Measure sleeves a lot better.  To be 1/2 sleeve I needed a much shorter ruffle and shorter sleeves.

2.  I need more practice setting in sleeves.

3.  I, maybe, should have ironed the fabric before I started cutting.  (I hate ironing).

Saturday, August 14, 2010

1/2 sleeve summer shirt - Day 4

Well, the kids are gone :( so back to sewing.

I put the other sleeve on and sewed up the sides and under the sleeve.  I have to hem it and it's done.  I tried it on and it looks good, although I have to hand stitch a bit of the neckline in the back to make it lie right.

I really need more practice setting in sleeves.  It looks OK, but I know what I had to jury-rig to get it to work right.

I will post pictures later.

Monday, August 2, 2010

1/2 sleeve summer shirt - Day three

I got the ruffles pinned and sewn on.  Wow, I'm going to have to re-think the ruffled petticoat I've been thinking about.  Not hard just really time consuming.

Then came the setting on of the sleeve.  Until now I've only done drop shoulder sleeves or a simple Tunic type sleeve.  This time I wanted the shoulder seam to be at my natural shoulder.  I had cut out the sleeve as a large rectangle.  When I pinned the sleeve to the body I realized that to fit it in properly I was going to have to trim the top of the sleeve to an angle.  So, I sewed the top of the sleeve to the body then pinned it to the sides.  I sewed it up and trimmed the excess.  It was a bit cumbersome but it looks right.

My Granddaughter is visiting this week, so the rest may have to wait.

Happy Gamma!

Sunday, August 1, 2010

Hand Made Snoods, Belt pouchs and Wrist Bags for Sale

I'm trying to earn extra cash by selling snoods, belt pouches and wrist bags. The wrist bags are in a shell pattern with a cord done by hand on a lucet. The snoods come in sizes small (10" diameter), medium (12" diameter), large (14" diameter) and XLarge (16" diameter).  The belt pouches are 6.5 x 5 and fit a 1" belt (this can be customized as needed).

If you have ever wanted a snood but couldn't wear them because the standard is too small or large I can help. I sew a comb in the top to help them stay in place. Name your color, and I can do it. I also make beaded ones and can add a metallic thread.

Match your wrist bag and belt pouch to your snood. They are all made of cotton crochet thread.

Leave me a comment here with what you are interested in and how to get in touch with you.

Friday, July 30, 2010

1/2 Sleeve Summer Shirt - Day 2

This is the fabric.  The color didn't come through clearly, but the detail did.  It's more of an old ivory color.

Today I sewed the binding tape on the neck line.  I then attached the shoulder seams of the body.  I hemmed the pieces I'm using to create the ruffle on the sleeves.  Here's the neckline detail.

Thursday, July 29, 2010

1/2 sleeve summer shirt

It's been a while, but I'm back.   It's just so hot in my sewing area that I haven't had the desire to sit there.  But, well, I want a new summer shirt so it's Sewing Time.

I found the great, thin cotton material with embroidery.  It's a dark ivory color.  I'm going to make it into a 1/2 sleeve pullover with a scoop neck.  I'm going to learn how to set in sleeves with the shoulders where they belong, instead of a drop shoulder.  I'm also going to put a ruffle on the sleeve.  I'm going to finish the neckline with bias tape.  At least that is the plan.

I cut out the two body pieces, the sleeve pieces and 2 pieces of material double the width of the sleeve.

Here is the plan after I iron the pieces.

1.   Sew the bias tape on the front and back neckline
2.   Sew the shoulders together
3.   Hem the ruffle pieces
4.   Attach the ruffle pieces to the bottom of the sleeve pieces
5.   Attach the sleeves to the body
6.   Sew up side seams and under the arm
7.   Hem the shirt

Stay tuned for how it goes.

Monday, June 7, 2010

Pictures

Summer Shirt - Day 4

Last night I hand stitched the neckline.  I just rolled it over and whip stitched it.  I also sewed on two of the buttons and took a couple of stitches at the top to keep the fold together.

Today I hemmed the sleeves and the bottom of the shirt.  I used a zigzag stitch on the bottom for a different effect.  I sewed the last buttons at the wrist and I'm done.

OK...here are the lessons I learned:

1)  Make sure you have the right needle.  When sewing knits you should use a ballpoint needle.

2)  Tissue paper is your friend when sewing delicate or slippery fabrics.

3) Buttonholes.  My machine has a one step buttonhole.  If the material is slippery or delicate use a scrap piece of sturdy fabric when making the buttonhole.

4)  Use the proper stitch.  Knits need the stretch stitch or a zigzag stitch to work correctly.

5) A little hand sewing for details never hurt anyone.

Friday, June 4, 2010

Summer shirt - day 3

Whew - it is hot in my kitchen where my sewing area is set up.  I had the fan on and still kind of melted.

I got the sleeves on today.  I had to rip part of the side seam out that I put in yesterday after I put one sleeve on and realized it wasn't right.  I was looking for a slightly Rennie type sleeve that buttoned at the top, elbow and wrist and was wide at the bottom.

I cut two pieces per sleeve, hemmed the straight edge and pinned the two pieces to the body.  I sewed them on and then ran the bottom up.  I still need to hem the bottom of the sleeve.  Then I put in the buttonholes.

OK...a word or two about buttonholes.  I've never done them before so I read the directions in the machines manual.  My machine has a one step buttonhole option.  It says to use a thick thread when making buttonholes on slippery or knit fabric.  Yeah, right.  No way could I get those stupid things set right.  After much swearing, I got a brain storm.  I put a sturdier piece of scrap material under the knit and, voila, worked like a charm.  Nice and easy with that fix.

I'm going to do a hand rolled whip stitch neckline.  Then sew on the buttons and I'm done.  I have a salvage edge at the bottom so hemming that is optional.

Thursday, June 3, 2010

ARGH - Summer shirt - day 2

I just have to keep telling myself "It's a learning experience".  Here's what happened.

I changed the needle to a ballpoint needle, pinned the two pieces of fabric together and put a piece of tissue paper underneath to help with the feed.  SNAP goes the needle because of a clogged bobbin.  Took the bobbin case apart and cleaned and oiled it.

Then, after putting the new needle in, fiddling with the bobbin tension, fiddling with the stitch tension and swearing just a little bit I finally got a seam sewed.  OK, so using the correct needle, stitch and tissue paper worked.

Next problem.  The sleeve design is off.  It won't hang the way I want it to with the current design so it's back to the drawing board.

I guess it is a good learning experience for when I start sewing with silk and satin to make merchant or noble Elizabethan garb.

Wednesday, June 2, 2010

Knit Fabric Summer shirt

I bought a wonderful, soft knit fabric in a dark fuchsia.  I want to make a V neck summer shirt with loose sleeves that button at the elbow and wrist and flair at the end.  I have very wide fabric so I'm going to use the T Tunic model.

I folded the fabric and cut it at 29".  This is the width I need.  I cut out the neck.  I cut out sleeves at about a 2:1 ratio with the larger end being the bottom.  I'm going to split the sleeve in half, then hem each piece at the top.  Then I'm going to pin the two pieces to each side of the body, run the side seams up and sew the underside of the sleeves.  Two buttonholes will go on the sleeves top at the elbow and the wrist and a button will also go at the top of the sleeve for decoration only.

I started trying to sew this today and have run into all sorts of problems.  My bobbin side is globing all up, the machine is eating my fabric (had to cut another sleeve) and everything is bunching up.  So I clean and oil the bobbin casing and then I google.  Come to find out you need a special ballpoint needle to sew knit fabric, who knew.  So the whole project is on hold until I can get the proper needle.

Hey, this is a learning process.

Viking Dress in action


Here I am in the Green Tunic with a plaid and with the Yellow Apron Dress.  They are very comfortable and wear extremely well.

Thursday, May 13, 2010

Viking Apron Dress - Day Two

All done.  This was an easy project.  Basic cylinder of fabric with straps and a bit of trim.  All I did to finish it was sew the trim on the bottom hem and fold over and sew the front of the straps.  I decided to go traditional and not attach the front of the straps to the dress.

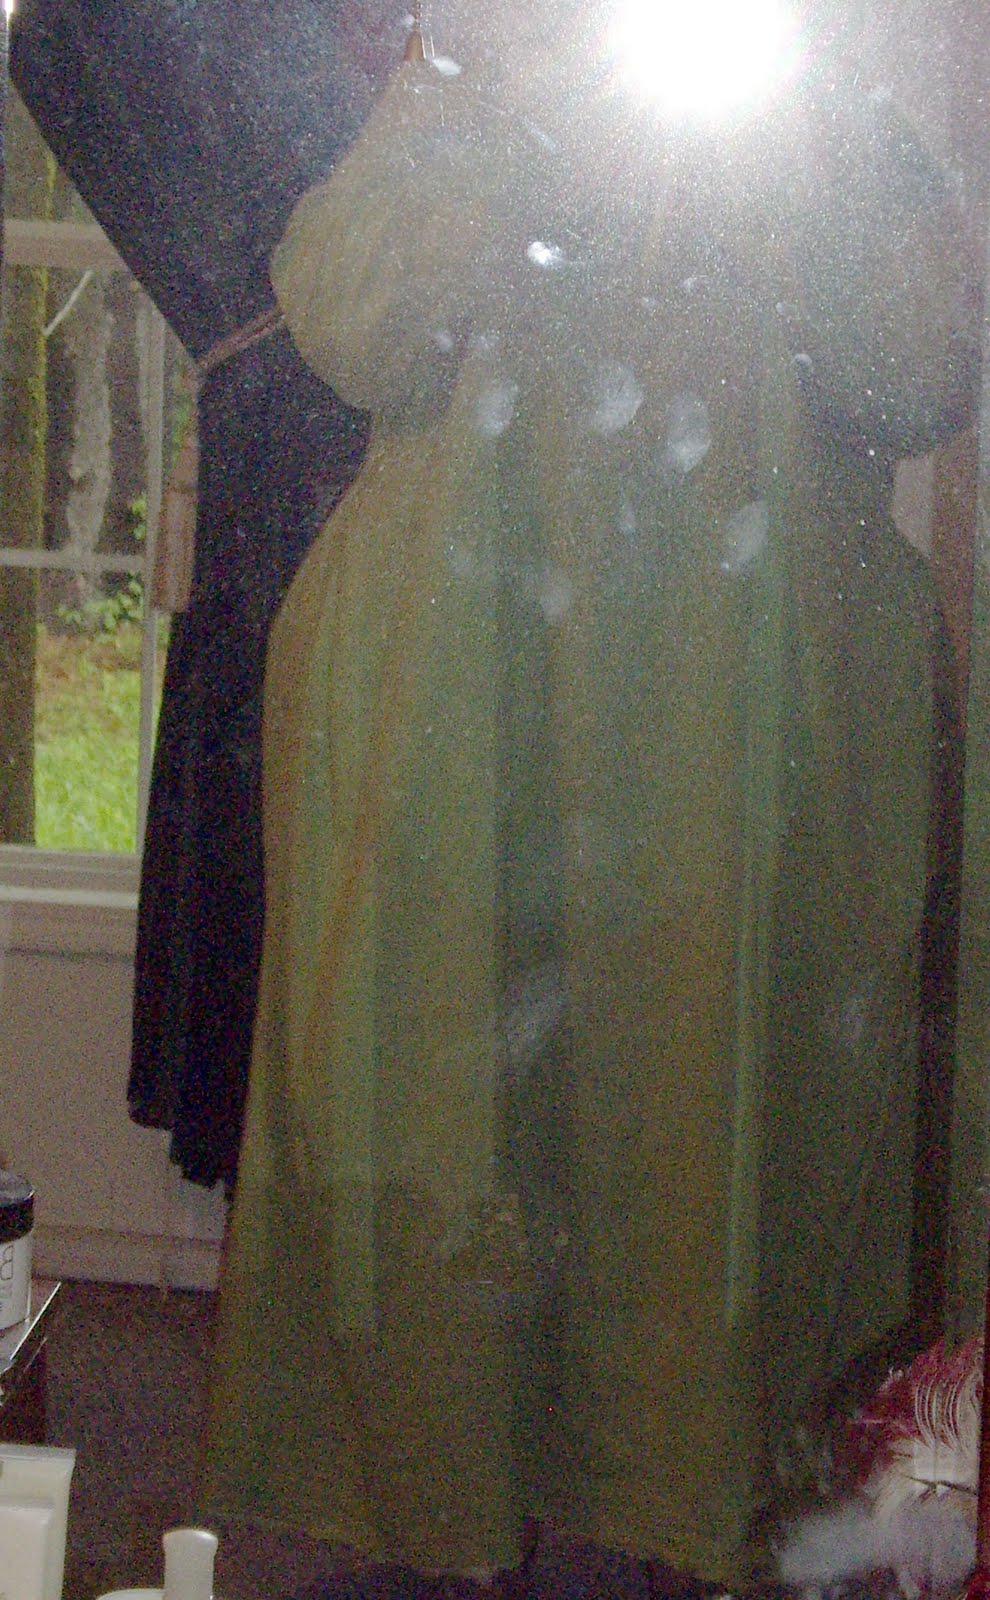
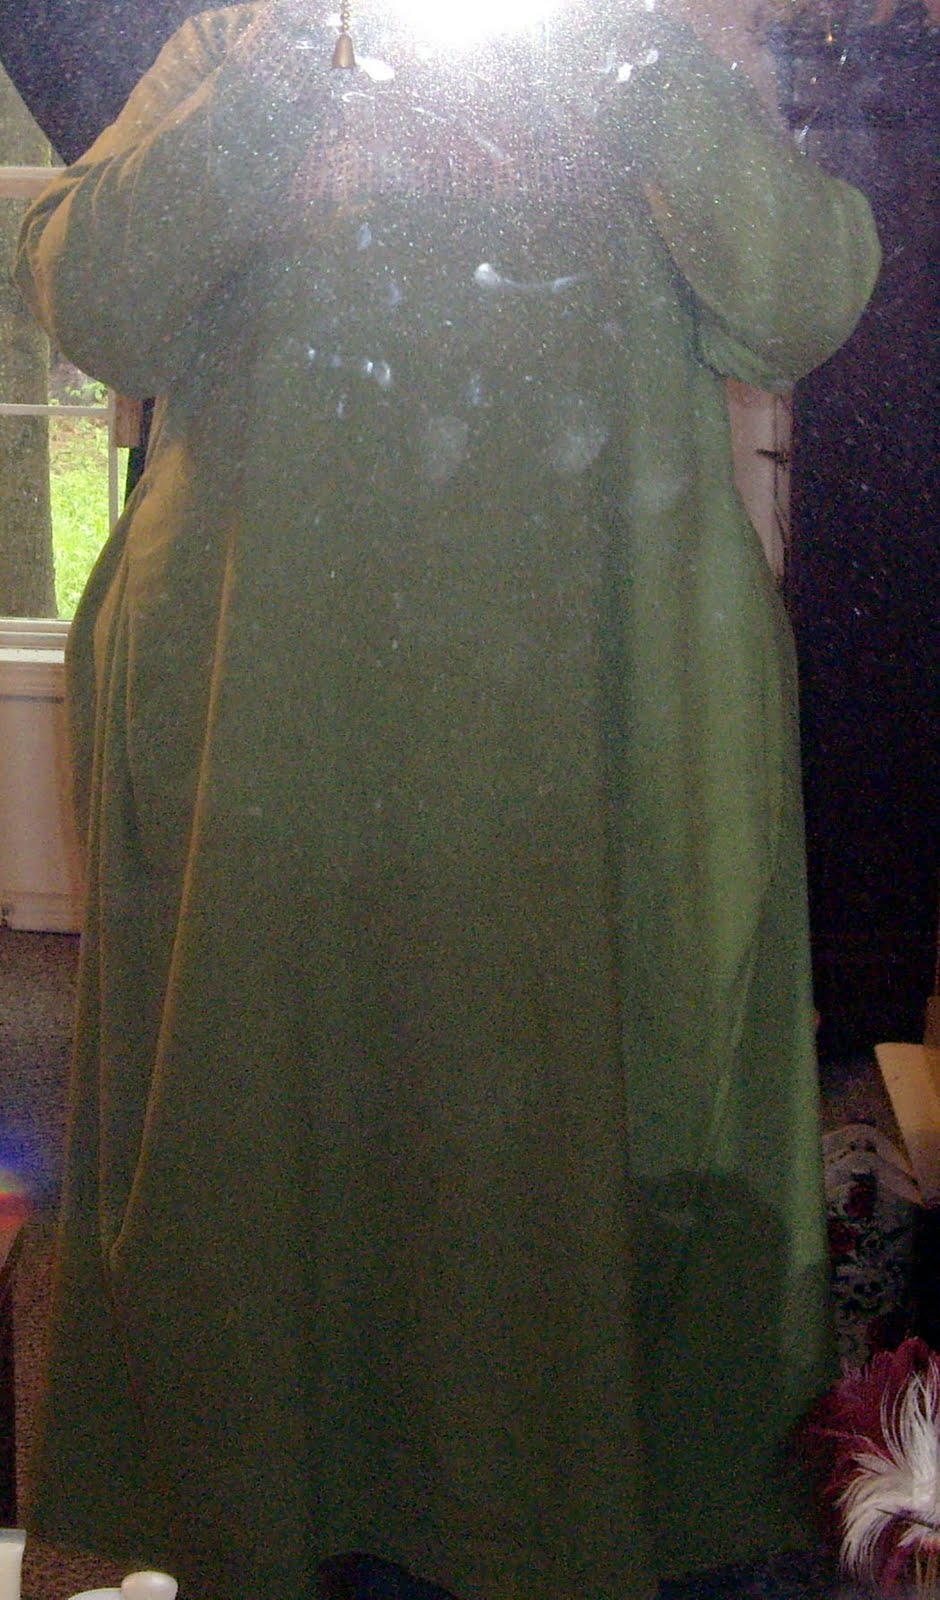
Here is the finished piece with the tunic and "bling".  It will look better worn but you can see the effect.  It will be about knee length once worn.


The only lesson I learned on this one was to angle the top to make a better fit.

Wednesday, May 12, 2010

Viking Apron Dress - Day 1

Yesterday I cut the 2 body pieces and the two strap pieces.

Today I sewed up the side of the straps and turned them right side in.  I pressed the straps flat with the seam in the middle.  I sewed the side seams of the body and tried the dress on.  As I thought, I was going to have to take the top in a bit so it wouldn't gap at the sides.


I pinned the sides and took the dress off.  I sewed up the sides, pinned the top hem, pinning the straps to the back.  I sewed the top hem and straps in place, using two rows of stitches.

Tuesday, May 11, 2010

Viking Apron Dress - The Plan

An Apron Dress is basically a tube of fabric that goes around the body from about the arm pit to a few inches below the knee.  It is held up by two straps that are attached in the back and held closed in the front by brooches.  I'm modifying this a bit by having the straps attached both front and back.

Here is the plan for the Apron Dress.

I'm going to cut two pieces for the body.  The top will measure 1/2 my bust measurement plus a few inches for wiggle room and seam allowances.  The bottom will be this measurement plus 10 inches.  The length will be the the distance from my arm pit to a little below my knee plus a few inches for hemming the top and bottom.

Next I'll cut two strips of fabric 41/2 inches wide and 22 inches long.  The length is the distance from the middle of where the top back of the dress will be to over my shoulder.  I just find that attaching straps in the middle of the back keeps them from slipping off the shoulder.

Sew the two halves of the body together.
Pin the top hem then place the straps where they belong and pin them in place.
Sew the top hem down and the straps in place.  I'm going to use two rows of stitches at the top.
Pin the trim on the bottom and pin up the hem.
Sew the trim in place and hem at the same time.  Again there will be two rows of stitches here, the top of the trim and the bottom which will also act as the hemming.

This is the fabric and trim.  The fabric is a cotton broadcloth so it will have to be ironed before I sew it together.  I'm using the same trim I used on the green kirtle.  One, because I really love this pattern and two, because they will be worn together.

Monday, May 10, 2010

Green Kirtle - Day 5

I'm done.  I sewed the trim on the bottom hem, using it to add a bit of length and even out the hemline a bit.  I really like the way it came out.  It looks much more professional and fits better.

Things I learned:

1)  It pays to measure twice and cut only when certain of the measurements.  The neckline and sleeves came out much better this time because of it.

2)  It helps me to write out my plan ahead of time.  I find a few bugs that way.  Also, if you have a plan that has worked for you before and you need to alter it a bit, it is much easier to do this if you have a written plan.

3)  Pinning is your friend.  It takes a little longer but it really helps if you are uncertain about how a piece goes on.

Next is the Apron dress.  I have a lovely piece of yellow broadcloth (I love the green and yellow combo, this is the third set I will have in these colors) that is going to be a Viking style apron dress.  Stay tuned.

Saturday, May 8, 2010

Green Kirtle - Day 4

Almost done.  I put the gores in and sewed up the sides/under sleeves.

The gores were a bit tricky.  I had to re-cut them because I cut them too long.  I wanted them to hit at the waist and at the original length they hit under the arm.  Once they were re-cut I started pinning.  I pinned one side of the gore to the side, then went up the rest of the side and under the arm.  I then pinned the other side of the gore to the other side of the body.  Getting the top smooth and even was a bit tricky, but I took my time and got it.

Now all that is needed is trimming out the bottom.  As the tunic hits right at the top of my feet I'll just trim the bottom instead of hemming it.

Here are some pictures.  They aren't great, they were taken in my full length mirror.


I'll get a better picture once I've finished.

Friday, May 7, 2010

Green Kirtle - Day 3

Today I trimmed the sleeves, hemming them at the same time, and attached them to the body.  It doesn't sound like much progress but I was doing this while my granola bars were baking.

One of the problems I'm finding is that my work table is so low that my back hurts when I have to pin pieces together.  I need to see if we have a higher table.

Tomorrow I'm going to attach the gores and sew up the side seams.  Then will be trimming and hemming the bottom.  I'm going to pin the trim on at the same time I pin up the hem.  That way I only have to go around the bottom twice (for the top and bottom of the trim) instead of an additional time to hem it up.

Wednesday, May 5, 2010

Green Kirtle - Day 2

Here is the fabric and trim I'm using.  The background of the trim is more beige than white, but I liked the two together.


Today's project is to iron the cut pattern pieces.  Because it's linen (cotton and cotton blends tend to do this too) I like to iron them because the ends tend to turn under.  It makes it impossible to line them up properly when sewing them together (I learned this with the first kirtle).

After this was done, I trimmed the neckline and sewed the shoulder seams together.  By trimming the neckline first I get that nice crisp edge at the shoulders.


I'm also getting better at corners.


Next is trim the wrists of the sleeves then attach the sleeves to the body.  After that I have to put the gores on and sew up the sides and underside of the sleeves.  Lastly hem and trim the hemline.

Tuesday, May 4, 2010

Green Kirtle - A better fitting

I'm revisiting my kirtle pattern.  I'm trying to make a better fit.  I found a great piece of green linen at Birka this year that I'm making into a light weight kirtle with a squared neck and gores at the hip to hem.  As the fabric is 57 inches wide, I'm cutting out two pieces for the body.  I'm taking 1/2 my bust measurement plus a few inches for wiggle room and seam allowances.  I cut a square neckline in the front piece that is 9 inches down and 8 inches across.

I cut two sleeves in a large triangle with the widest part being my upper arm measurement plus 3 inches and the smaller measurement is the circumference of my fist.  The gores are 43 inches long and 15 inches at the widest part and 5 inches very close to the top.  This will give me the room for my hips and the fullness at the hem.

I'm going to trim the wrist, neck and hem with a white/green trim.  This should give me a much better fit than the previous one.

Thursday, April 29, 2010

Pictures of skirt