Fairely Well Maid

Visit my store on Storenvy

Follow Me on Twitter

Showing posts with label bodice. Show all posts

Friday, May 4, 2012

The Bride's Bodice

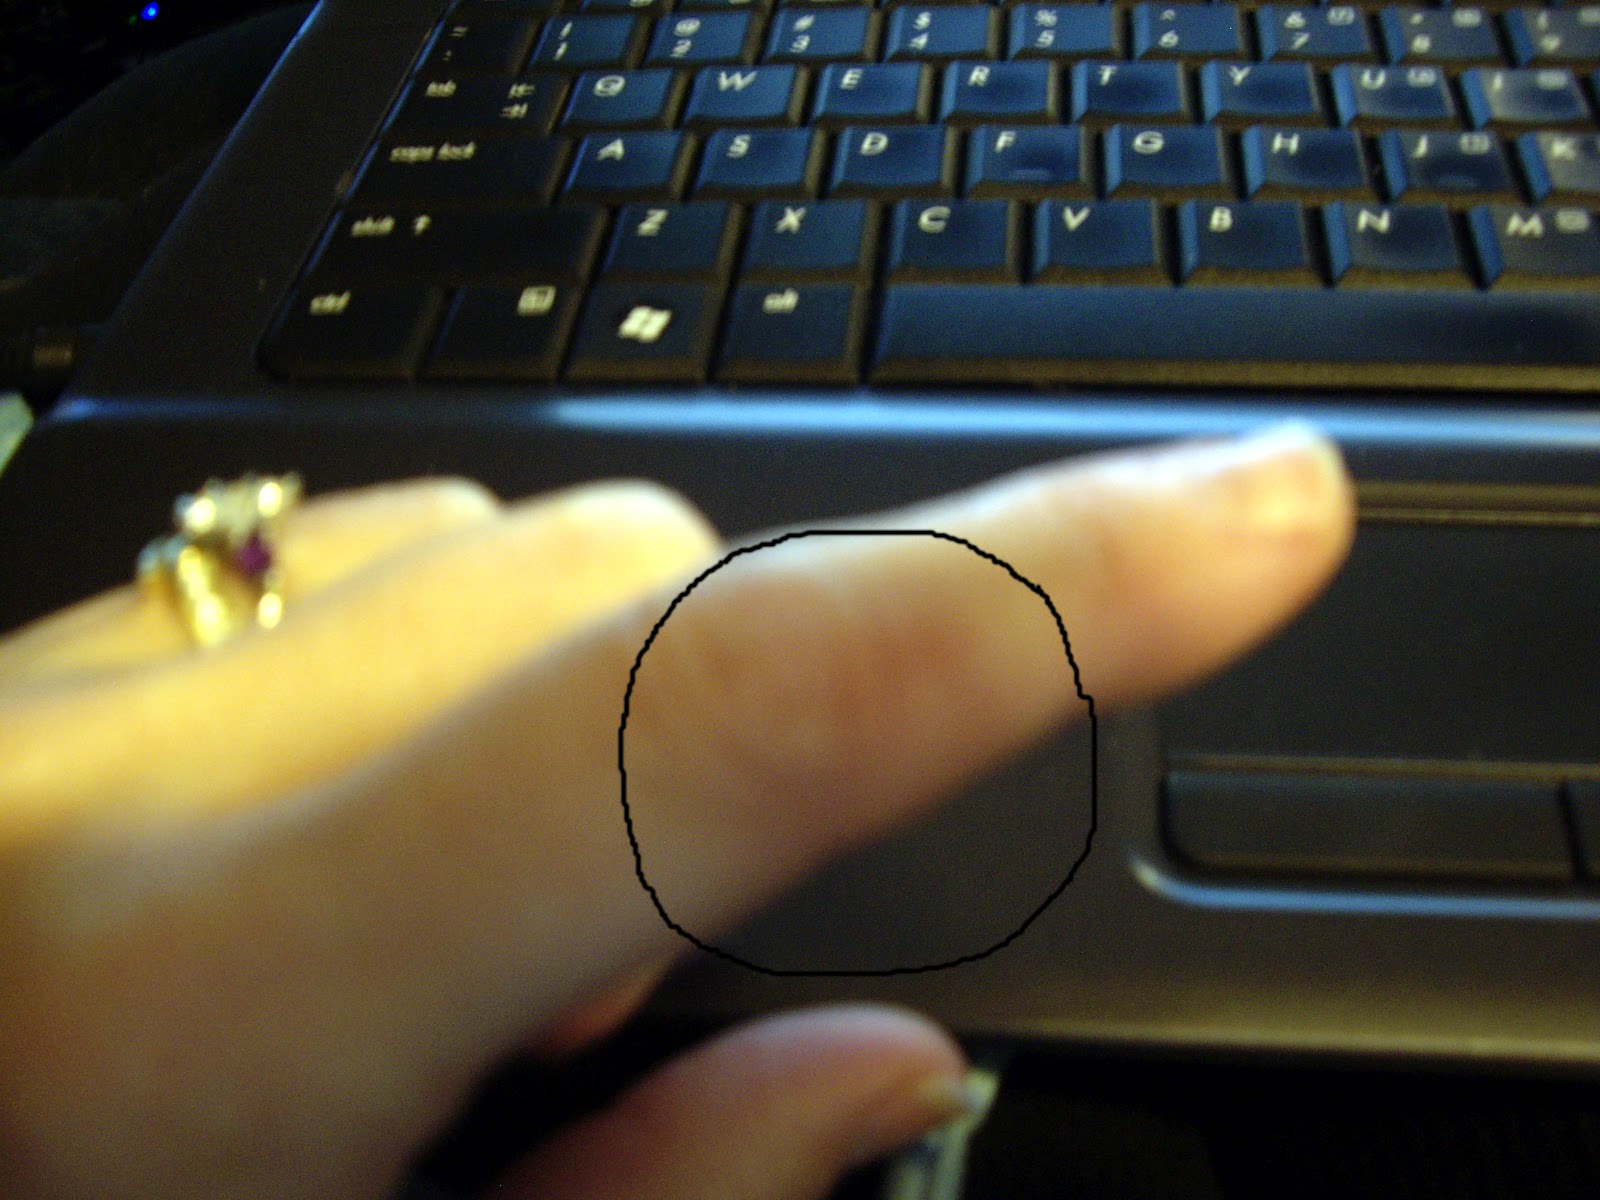
First of all, here is the legacy from my day of Bashing grommets on Wednesday.  I circled the bruises that started developing yesterday.  Yes, I bruise very easily.


This is also part of my preparations for NHRF as she is getting married the second Saturday of the Faire.  She wanted a full partial skirt that came down to about her knees attached to the Bodice.  Yesterday, for what ever reason the machine just wasn't cooperating with me.  After over an hour of fussing with it I gave up and decided to try again today.  Today it worked like a charm.  Go figure.

I hemmed the bottom and roll hemmed the sides.  Then I started to gather the top.  By setting the thread tension to Nine and the stitch length to three I got a nice full gather.


I pinned the skirting to the bodice, starting and ending where my Bride indicated she wanted it.  I then went back to the sewing machine and manhandled it through, only having the bobbin jam once.


I'm not going to post a completed picture of this until after the Wedding out of deference to the Bride.  The last thing I have to make is shoulder straps.  She is going to be trying it on tomorrow.

Wednesday, May 2, 2012

YAY - The Princess Hats are done

Seriously, the 24 Princess hats are all decorated, veiled and packed in a box ready for NHRF.  Here are the white ones veiled.


Today was also Grommet Bashing day.  I don't particularly like putting in grommets, mostly because I can't seem to avoid hitting my thumb.  Sure enough, while bashing the grommets into the my 15th century Merchant bodice I slammed the hammer into my thumb knuckle.  Here is the finished bodice.

This picture is blurry but you get the shape of the bodice


I also did the grommets for the Bride's bodice.  She came over for a fitting to see if I had to make any more adjustments so on went the ugly fitting straps again.


I did the front closure ones and the front and back of where she wants the removable shoulder straps.  Tomorrow I will start on the skirted portion of the bodice.


So, that is how I spent my day.  Thankfully, no more Princess hats to work on.  I do need to start some "Pirate" head wraps for the boys.

Tuesday, May 1, 2012

The Princess Hats are almost all done

...and other things.

I put the veils on the yellow princess hats and decorated the white ones.  Are you sick of hearing about these princess hats yet?


Well, once the white ones are veiled you don't have to read about them anymore (unless I do another fair :) ).

Work is progressing on the Bride's bodice.  Today I cut, pinned and sewed the outer fabric onto the interlining.  The outer fabric is a beautiful blood red linen blend that came out of the dryer with almost no wrinkles.  I doubled over the seam allowance to give it a nice finish as I'm not using binding tape.  This way Kat (the bride) won't have to worry about any shedding threads from the edges.


Tomorrow I'm grommeting it and my Bride is coming over for a fitting so I can mark the area for the shoulder straps and get final measurements for the skirt part.

Thursday, April 19, 2012

15th century bodice - Done except the grommets

Today I put the shoulder caps on.  I put lightweight interface on both sides of the cap.  This gives it good stability without it being too stiff.

This is the inside of the shoulder cap.
Here it is right side out.
After sewing the shoulder caps together I pinned them to the inside of the armhole at the top.  I used the narrow end of my ironing board to do this as it flattened the top of the armhole so I could position the cap properly.


I was able to sew it on with the machine.  I was afraid that I would have to hand sew them on, and you all know how much I LOVE hand sewing.  Here is the finished product.  All I have to do now put in the grommets and sew over them.


Next is the Stomacher.

Wednesday, April 18, 2012

15th Century Bodice

The first thing I did today was pin and sew the armholes.  I had to pull out some of the side seam to make it fit a bit better.


I then sewed the bottom hem and pinned and sewed the neckline.   I had to fudge it a bit at the top as I had already sewed up the shoulder seam.  I may have to hand sew it to neaten it up.

Hemmed bottom
Pinned neckline
This may have to be neatened up a bit.

 Lastly, I sewed the front edges.  The last thing I have to do with this is put on the shoulder caps and put in the grommets.  As I don't have any boning in this bodice, it is going over the Elizabethan corset, I am planning on over sewing the grommets to give added strength and to prevent pulling on the fabric.


Tomorrow shoulder caps.

Tuesday, April 17, 2012

Bodice for the 15th century Merchant

Yes, the tittle has changed.  In further research and talking with a few SCAdians, I have found that my outfit previously known as the 14th century Noble garb is closer to the cloths that a 15th century upper merchant class would wear.  So...

I started my bodice.  Due to a rather bad Fibro flare I can only spend about an hour at the machine, but I did get some work done on the bodice.  The fabric for this is from what I think was a very large purple brocade table cloth.  I bought it off a friend.  After cutting out the back and front pieces, I cut four small (6" x 4") pieces that I am going to round off and stiffen with some light weight interfacing for shoulder caps.

The first thing I did was to take a length of purple bias tape and ironed it out.  I then folded it in half and ironed it again.  I pinned it, then sewed it to the top of the back piece.  This makes for a cleaner back and also eliminates the scratchy feeling you can sometimes get with a rough edge in the back of the neck.


After the bias tape was sewn in place, I sewed on the two front pieces at the shoulder area.  I then flipped it over and folded over the back area where the bias tape was.  I sewed this down and voila, a nice neat top back.


Isn't that brocade just Yummy!  Next I sewed up the sides to about 9 1/2" from the shoulder seam for the arm holes.  Tomorrow, I want to take care of the arm holes and the neckline.  I really should have done the neckline before I sewed up the shoulders, but...ah well.

On a different note, my tomato seeds have all sprouted and my pepper seeds are starting to sprout.

Here are the pepper seeds starting to come up.

Looks like I'll have a nice crop of tomatoes this year.

Sunday, June 5, 2011

Bodice

As promised...pictures of Kat in her new bodice.  I'm really very proud of the way it came out.

Isn't she beautiful
Back view, as Kat fights with steal she wanted the effect of a skirt without needing to hike it up.

Friday, June 3, 2011

Bodice - Day 6

Have I told you how much I hate setting grommets.  So I have these two craft tools that I bought a while ago. One is a pliers like thing to set grommets, the other is a stapler like thing that is supposed to do the same. I have had to fight with these damn things every time I've needed them. The grommets I bought for the bodice came with this metal die and a hard plastic disk, so I tried that. BAM with the hammer and the grommet goes in like magic.

WHY DIDN'T I KNOW ABOUT THIS BEFORE?

WHY DIDN'T ONE OF MY FRIENDS TELL ME ABOUT THIS?

Am I now part of a secret club because I figured this out?

Oh, and where do I buy different sizes of these miracle tools?

I feel like I just stumbled on a $1000.00 bill.  I have fought so much with setting grommets that the thought of having to do it makes me a bit annoyed.  Now, No Problem, just give me a hammer and a sturdy table.

So I have to go get more grommets, because I don't have enough of the correct size for the straps.  I thought I had another pack. 

BTW anyone want a couple of slightly used grommet setting tools?  No, OK they go into the yard sale box.

Thursday, June 2, 2011

Bodice - day 5

All finished except for the grommets (have I told you how much I hate setting grommets).  I sewed the red outer fabric to the liner, taking care not to hit the bones when sewing along the outer edge.  I wanted to sew it in one clean sweep.  HA.  Because of the stiffening of the interfacing and the boning there was no way this was going to happen.  I did get the outer layer folded over the liner so the edges look clean.


As you can see at the very top, I had to slit the fabric a bit to get it around the curves. 

I then cut out the tails and liners for them.  I sewed them together and pinned them to the back, from the center out.  I stitched them on the bottom, then folded the red outer fabric over the bottom to make a clean edge on the front bottom and stitched straight across.  This also saved me from having to tack down, by hand, the seam made by the tails.

Please ignore the garbage bag behind the tails.  It's fabric that hasn't found a home yet.  Ah, fabric stashes.

So, all done except for the grommets (groan).

The reason for the tails:  My friend sword fights and wanted the effect of a skirt in the back without having to wear one and hitch it up.  When she comes to pick it up, there will be modeling pictures.

Wednesday, June 1, 2011

Bodice - day 4

I cut and pinned the red cotton to the liner.  I ironed the heavy duty interface onto the back and straps of the top.  Now I just have to sew it together and add the tails.

This is the liner pinned to the red fabric.


I had to notch the red to fit around the curve.
How it looks so far.

Tuesday, May 31, 2011

Bodice - Day three

Kat came over on Saturday so I was able to fit her.  I took the straps in a bit because they would rub under the arms (not a good place for that).  I also took the back top down a bit and we needed to shorten it a bit.  What I did was push up the boning a bit and re-stitch the bottom.  I then sewed some muslin on the top so the bones won't slip out.  I trimmed the sides, after taking both in a 1/4" and trimmed the bottom.

I cut the interface that will stiffen the back and the straps.  I have to leave enough room at the outline so I can fold the red top material over and stitch it down.  That way I don't have to use bias tape around the edges.

Tomorrow is cutting the top red material, iron the interface in and sew the top and front seams together.  Then I need to cut the tails, sew them together and stitch to the top.  Set the grommets and she is done.

Here are pictures of my progress so far:

Here is the finished boning channels.  They won't slip out.

cut pieces of interface

these go on the back to add extra support without boning.

Hopefully, more pictures tomorrow.

Tuesday, May 24, 2011

Bodice - Day 2

Today I got the side seams sewn up and the strip of fabric sewn into place.  I then stitched up the boning channels on each side.

You can see I put one bone at the front, then left a place for the grommets.  I then put the rest of the bones in.


I'm now waiting for the friend to come over for an initial fitting.

Thursday, May 19, 2011

Bodice for a friend - Day 1

I finally have my sewing area back.  My Beloved moved the "new to us" refrigerator into place and moved the old refrigerator out into the mud room (YAY more fridge and freezer space).

So, I drafted the bodice pattern for Kat from a sleeveless shirt she left for me.  I cut out the back in one piece.  This will be stiffened with fusible interfacing.  I cut the front two pieces and then decided to cut two pieces of lining that I can sew boning channels in, so I don't have to use bias tape and it's muslin so it will be more breathable.  I have 1/4 inch wide, 10 inch long steel spiral boning and a few 1/2 inch wide steel spiral boning I'm using in the very front.  I have a feeling that I'm going to have to take the sides in and cut the arm strap a bit deeper. 


I have to sew the boning panel in and sew the sides to the back and we will be ready for the first fitting.