Fairely Well Maid

Visit my store on Storenvy

Follow Me on Twitter

Wednesday, June 1, 2011

Bodice - day 4

I cut and pinned the red cotton to the liner.  I ironed the heavy duty interface onto the back and straps of the top.  Now I just have to sew it together and add the tails.

This is the liner pinned to the red fabric.


I had to notch the red to fit around the curve.
How it looks so far.

Tuesday, May 31, 2011

Bodice - Day three

Kat came over on Saturday so I was able to fit her.  I took the straps in a bit because they would rub under the arms (not a good place for that).  I also took the back top down a bit and we needed to shorten it a bit.  What I did was push up the boning a bit and re-stitch the bottom.  I then sewed some muslin on the top so the bones won't slip out.  I trimmed the sides, after taking both in a 1/4" and trimmed the bottom.

I cut the interface that will stiffen the back and the straps.  I have to leave enough room at the outline so I can fold the red top material over and stitch it down.  That way I don't have to use bias tape around the edges.

Tomorrow is cutting the top red material, iron the interface in and sew the top and front seams together.  Then I need to cut the tails, sew them together and stitch to the top.  Set the grommets and she is done.

Here are pictures of my progress so far:

Here is the finished boning channels.  They won't slip out.

cut pieces of interface

these go on the back to add extra support without boning.

Hopefully, more pictures tomorrow.

Tuesday, May 24, 2011

Bodice - Day 2

Today I got the side seams sewn up and the strip of fabric sewn into place.  I then stitched up the boning channels on each side.

You can see I put one bone at the front, then left a place for the grommets.  I then put the rest of the bones in.


I'm now waiting for the friend to come over for an initial fitting.

Thursday, May 19, 2011

Bodice for a friend - Day 1

I finally have my sewing area back.  My Beloved moved the "new to us" refrigerator into place and moved the old refrigerator out into the mud room (YAY more fridge and freezer space).

So, I drafted the bodice pattern for Kat from a sleeveless shirt she left for me.  I cut out the back in one piece.  This will be stiffened with fusible interfacing.  I cut the front two pieces and then decided to cut two pieces of lining that I can sew boning channels in, so I don't have to use bias tape and it's muslin so it will be more breathable.  I have 1/4 inch wide, 10 inch long steel spiral boning and a few 1/2 inch wide steel spiral boning I'm using in the very front.  I have a feeling that I'm going to have to take the sides in and cut the arm strap a bit deeper. 


I have to sew the boning panel in and sew the sides to the back and we will be ready for the first fitting.

Friday, May 6, 2011

Pants for a friend

I've been working on a pair of pants in a medium weight cotton broadcloth for a fellow crew member.  He gave me a pair of pants that fit him and said "use this as a pattern".  Well, as most of you know, I'm still a novice seamstress, so I took him at his word.  Not a great idea.  The pants he gave me where dress pants made of a very stretchy fabric.

Back to the drawing board.  At this point I took some measurements of my own and started from there.  I basted up the main seams and had him come over for a fitting.  We determined that the waist had to come in a bit and the leg needed to taper a bit, but the fit was good.  Pulled out the basting and sewed up the front pieces together (I used one solid back piece).  Put two square pockets on the outside of the front and put inseam pockets in and sewed them up.  I used what I call a serging stitch.  It is the one that has two lines of stitches with a triangle in between.  I felt better about re-enforcing the seams.

I've also been crocheting snoods and bags like a mad women.

So, now all that is left is the final fitting, then hemming them and putting the grommets in the opening.  I'll get a picture of him in them when they are all done.

Tuesday, April 26, 2011

Building Stock and re-arranging my sewing area

I'm vending at the Great North Eastern War in July so I have been working on building up stock.  I also have three projects for friends.  So, I haven't been idle.  One of the problems is I can't sit for very long at my sewing machine.  I finally figured out one of the problems.  I wasn't sitting properly.  I have now switched out the table where my sewing machine is so I'm not hunching.  This should help the pain in my back.

Here is a picture gallery of the stuff I have done so far:

Isn't she cute.  This is a crocheted skunk made for a friend from fun fur (that stuff is evil to work with).

Just over two yards of cording made with my Lucet.  I have six lengths.

A netted hair net modeled by my wonderful friend Jenn

A daisy drawstring bag.  I made three of these.

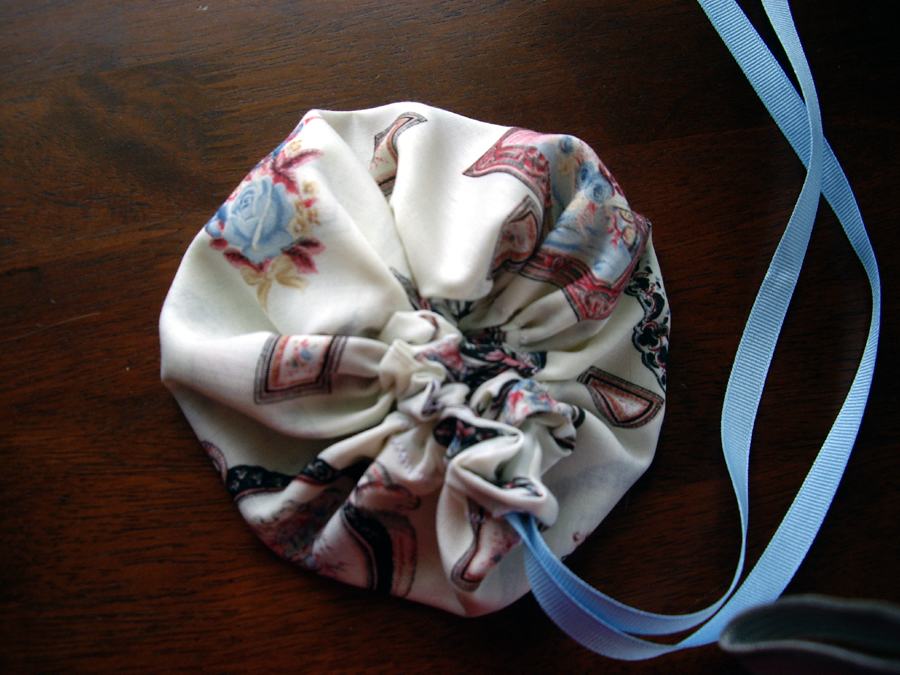
A blue rose print drawstring bag.  I have two of these.  It is lined with the same fabric.


These are all available in my Artfire store.

I will post pictures of the pants I'm making for a friend and a bodice I am making for another friend. 

Yes, Robin the rumors of a corset is true, but I have to get some of this stuff done first.  I promise to post about it.

Thursday, March 31, 2011

Historical Socks

I found this pattern in the last edition of PieceWork magazine.  It is based on a pair of stockings they found in 1951, in a bog in Gunnister, Scotland.  They have dated the material to the 17th century.

These are the actual stockings.  They were repaired (not well) in several places and the bottom of the foot was a separate piece, obviously the original foot wore out.


As the pattern was written for a man, the foot measurement had to be altered to fit my smaller foot.  I also had to alter the thigh and calf measurements to fit my, rather heavy, leg.  This was a fascinating project because it is a reproduction of an actual historical garment.  The original was in a wool yarn that would have been comparable to what we call sport weight.  I used a cotton ( 75%) and poly (25%) fingering weight.  I swatched it to find a needle size, because the pattern was written for a size 1.  I ended up using a size 3.

I'm thrilled with how it came out.  There is a clock pattern on the sides of the ankle, the back seam is 14 st wide starting with a garter stitch (p1, then next row k1), 3 knit stitches, another garter stitch, 4 knit stitches, a garter stitch, 3 knit stitches and ending with a garter stitch.  It makes the decreases very neat.

    
Here is the clock pattern.
This is the back seam.

The color is a dove brown, the top picture is closer to the real color.  I had a lot of fun with this pattern, even if I did have to graft the toes using the Kitchner Stitch :).